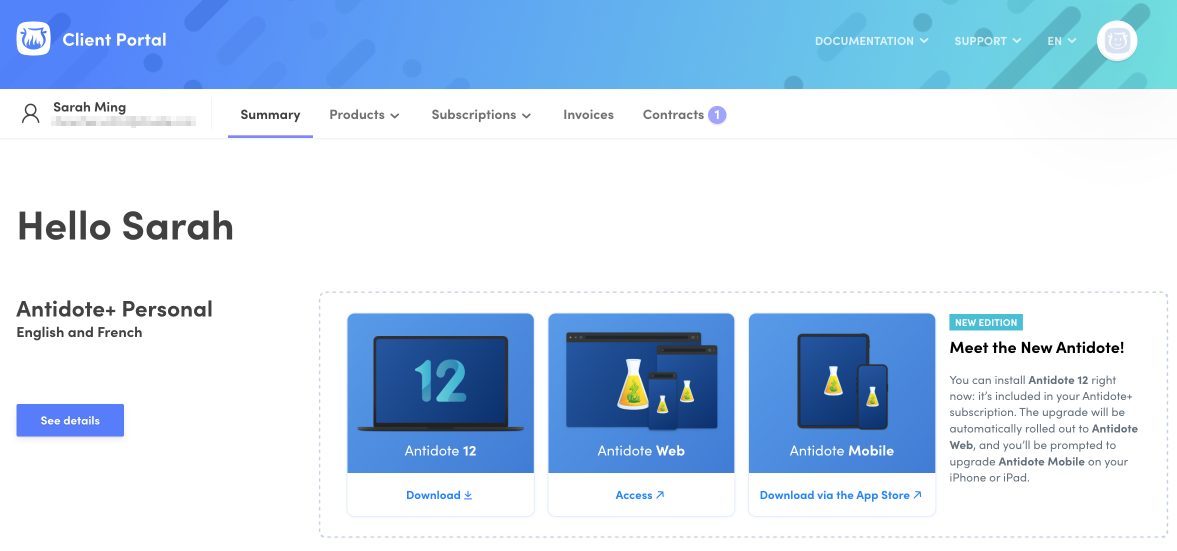
1 — Access your Client Portal.
2 — Click on the Antidote 12 tile.
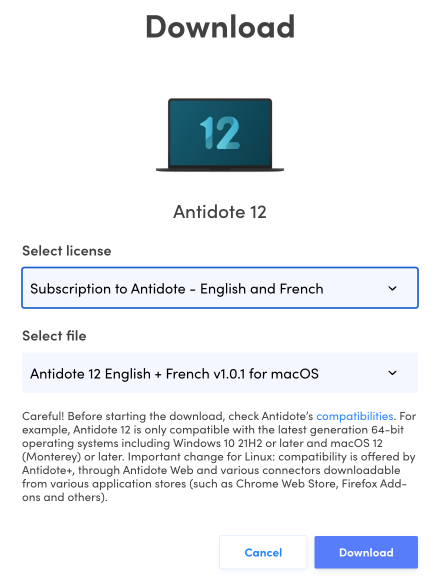
3 — Select the file for your platform (macOS) and click Download at the bottom of the window. The download may take a few minutes.

4 — Once the download is complete, open your Downloads folder (or whichever folder you chose for the download), and double click the Antidote 12 disk image.
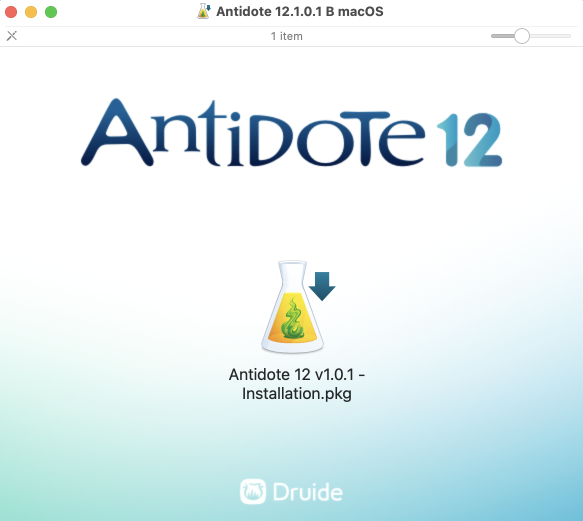
5 — Double click on the installer (flask icon in the centre of the window) to begin the installation. It is recommended to quit all other programs before starting the installation.
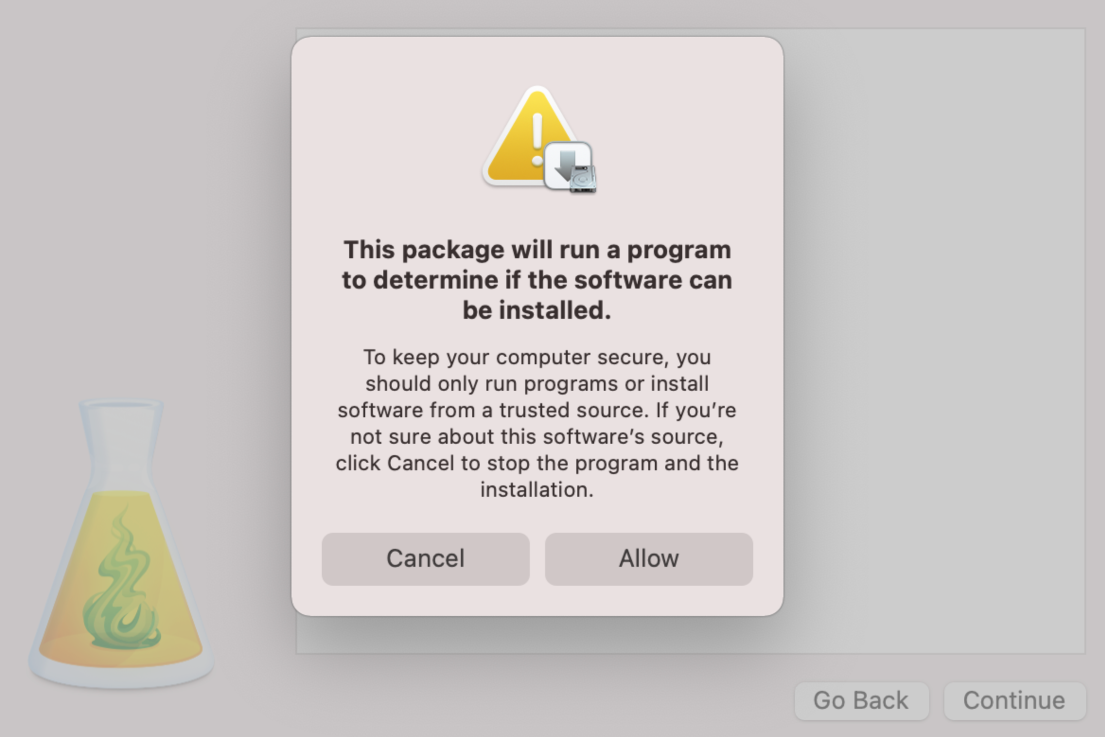
6 — Click Allow to run the program.
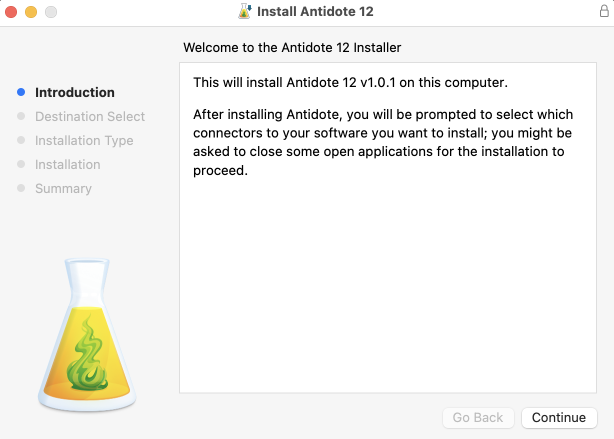
7 — Click Continue after reading the Introduction.
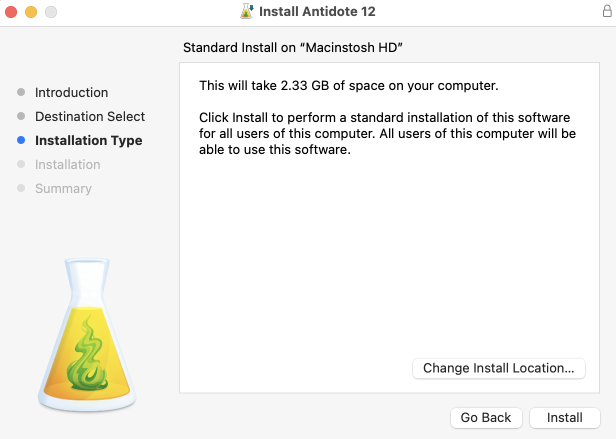
8 — Click Install.
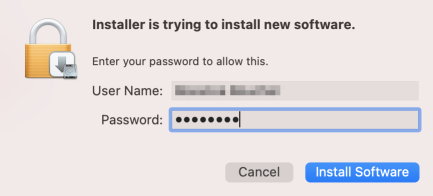
9 — Enter your computer’s administrator password, click Install Software and wait a moment while the different stages of the installation take place.
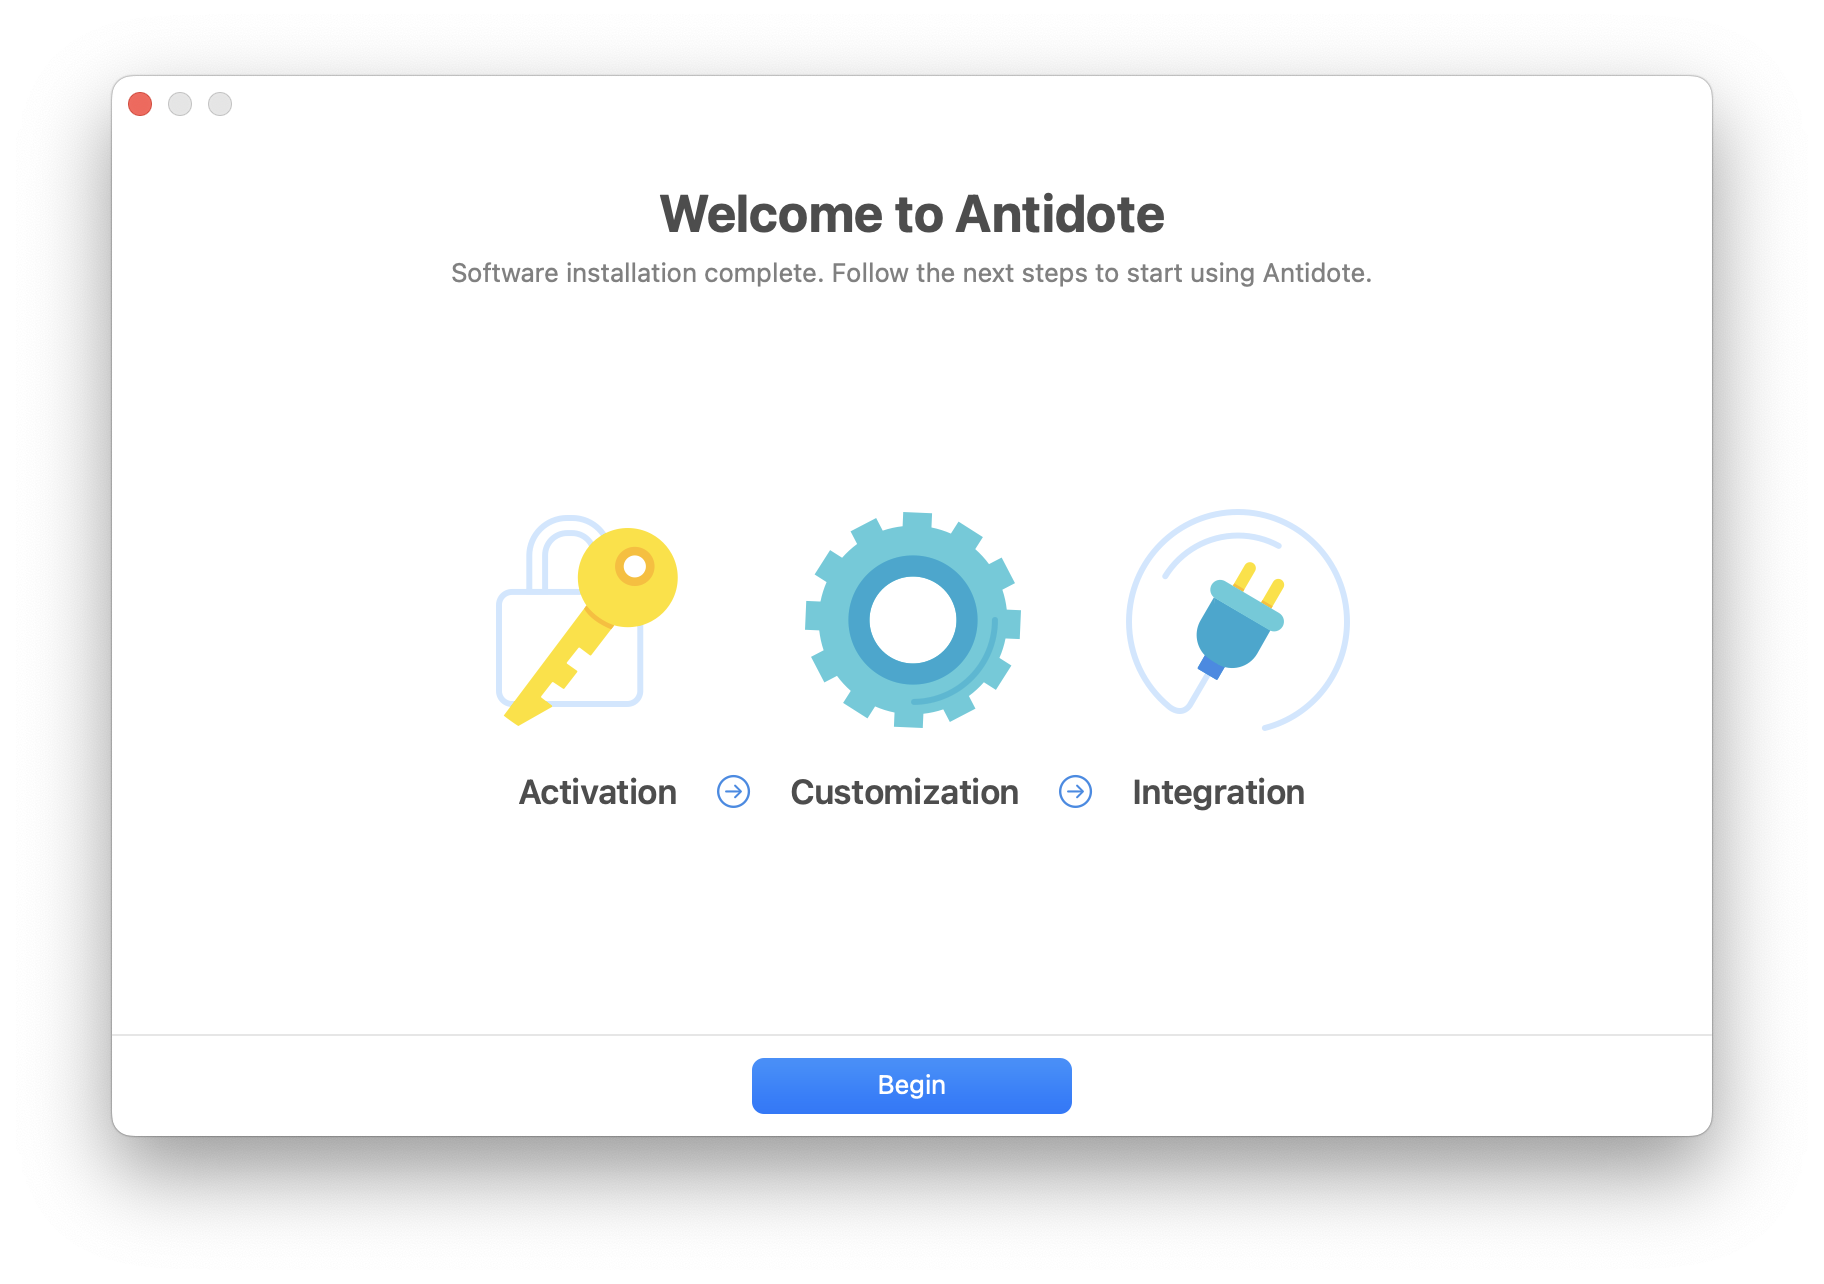
10 — Antidote now guides you through the last three steps: activation, customization and integration.
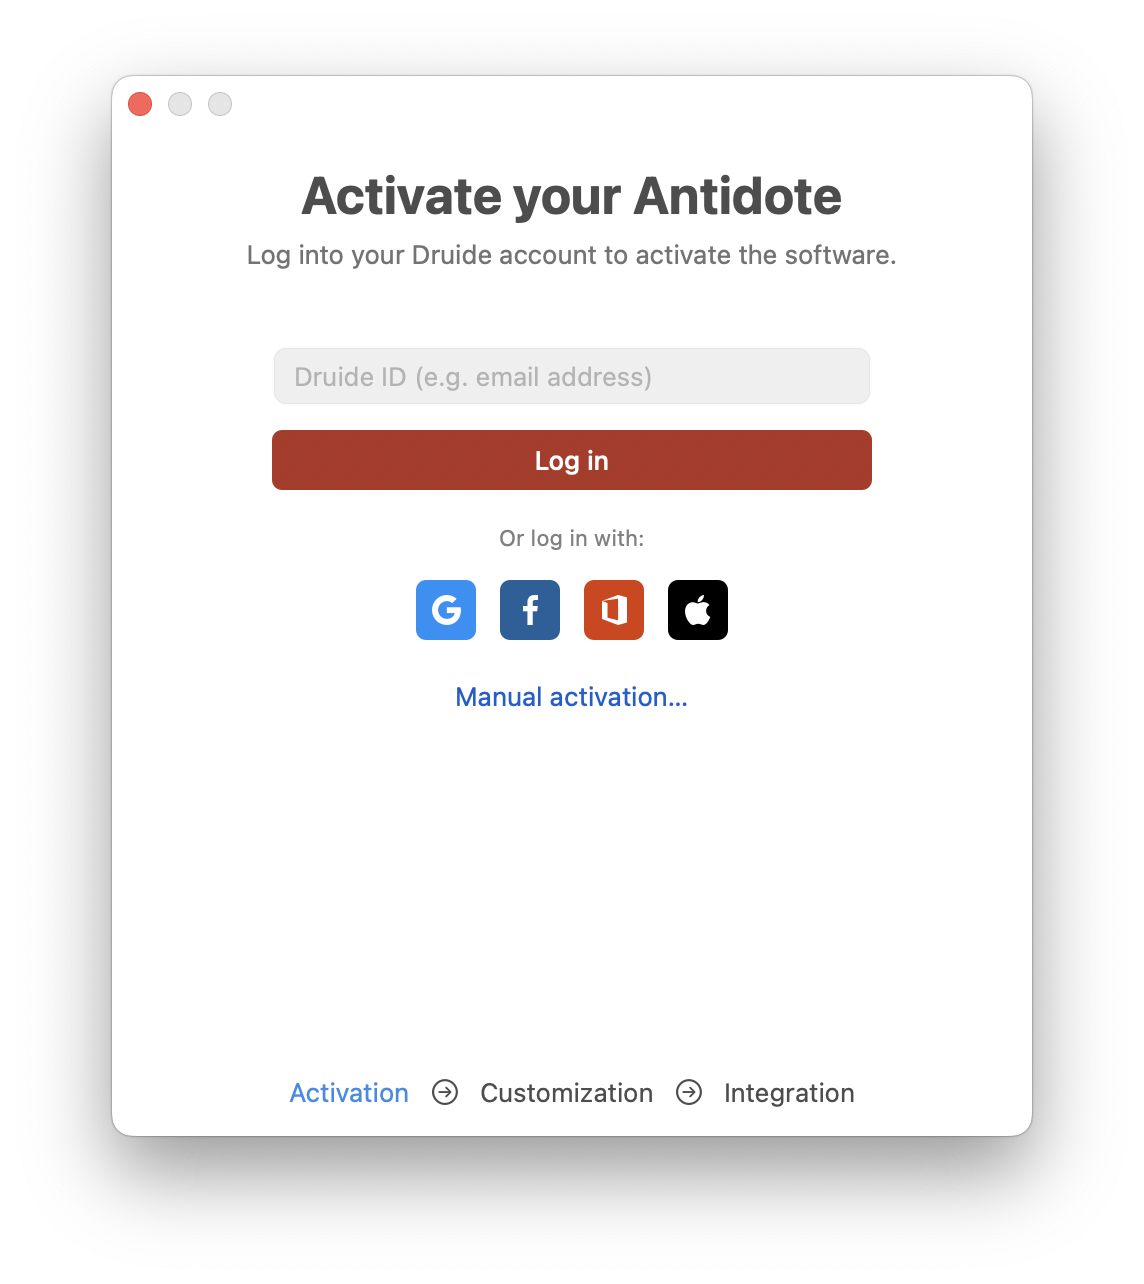
11 — Enter your Druide ID and your password, or use one of the single sign-on services, to activate your Antidote 12. This is the same log-in information you use for your Client Portal.
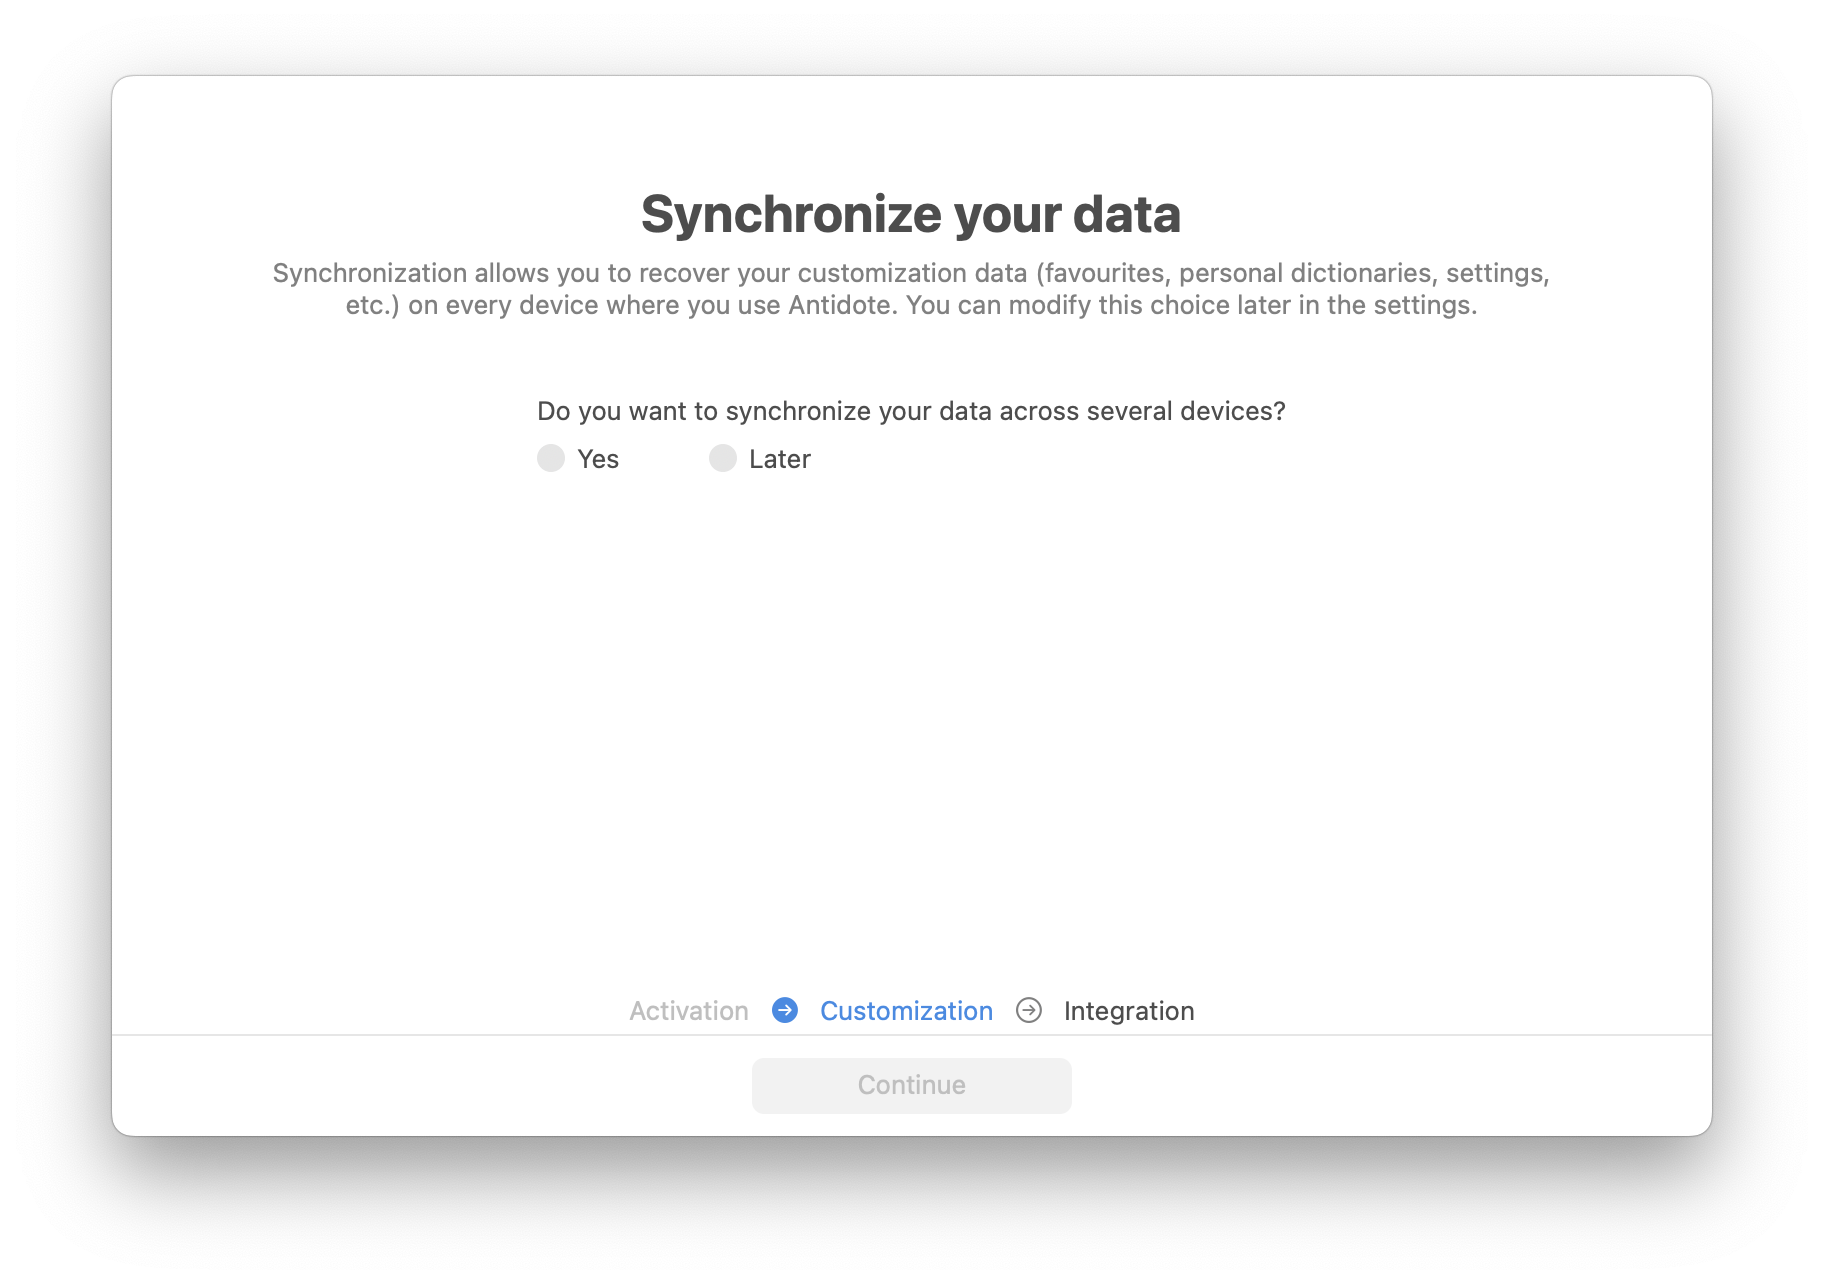
12 — After the activation, you will be asked if you wish to synchronize your data. With an Antidote+ subscription, a synchronization service enables you to share this information across all the devices where you use Antidote.
Note — Synchronization is an optional service offered with the subscription.
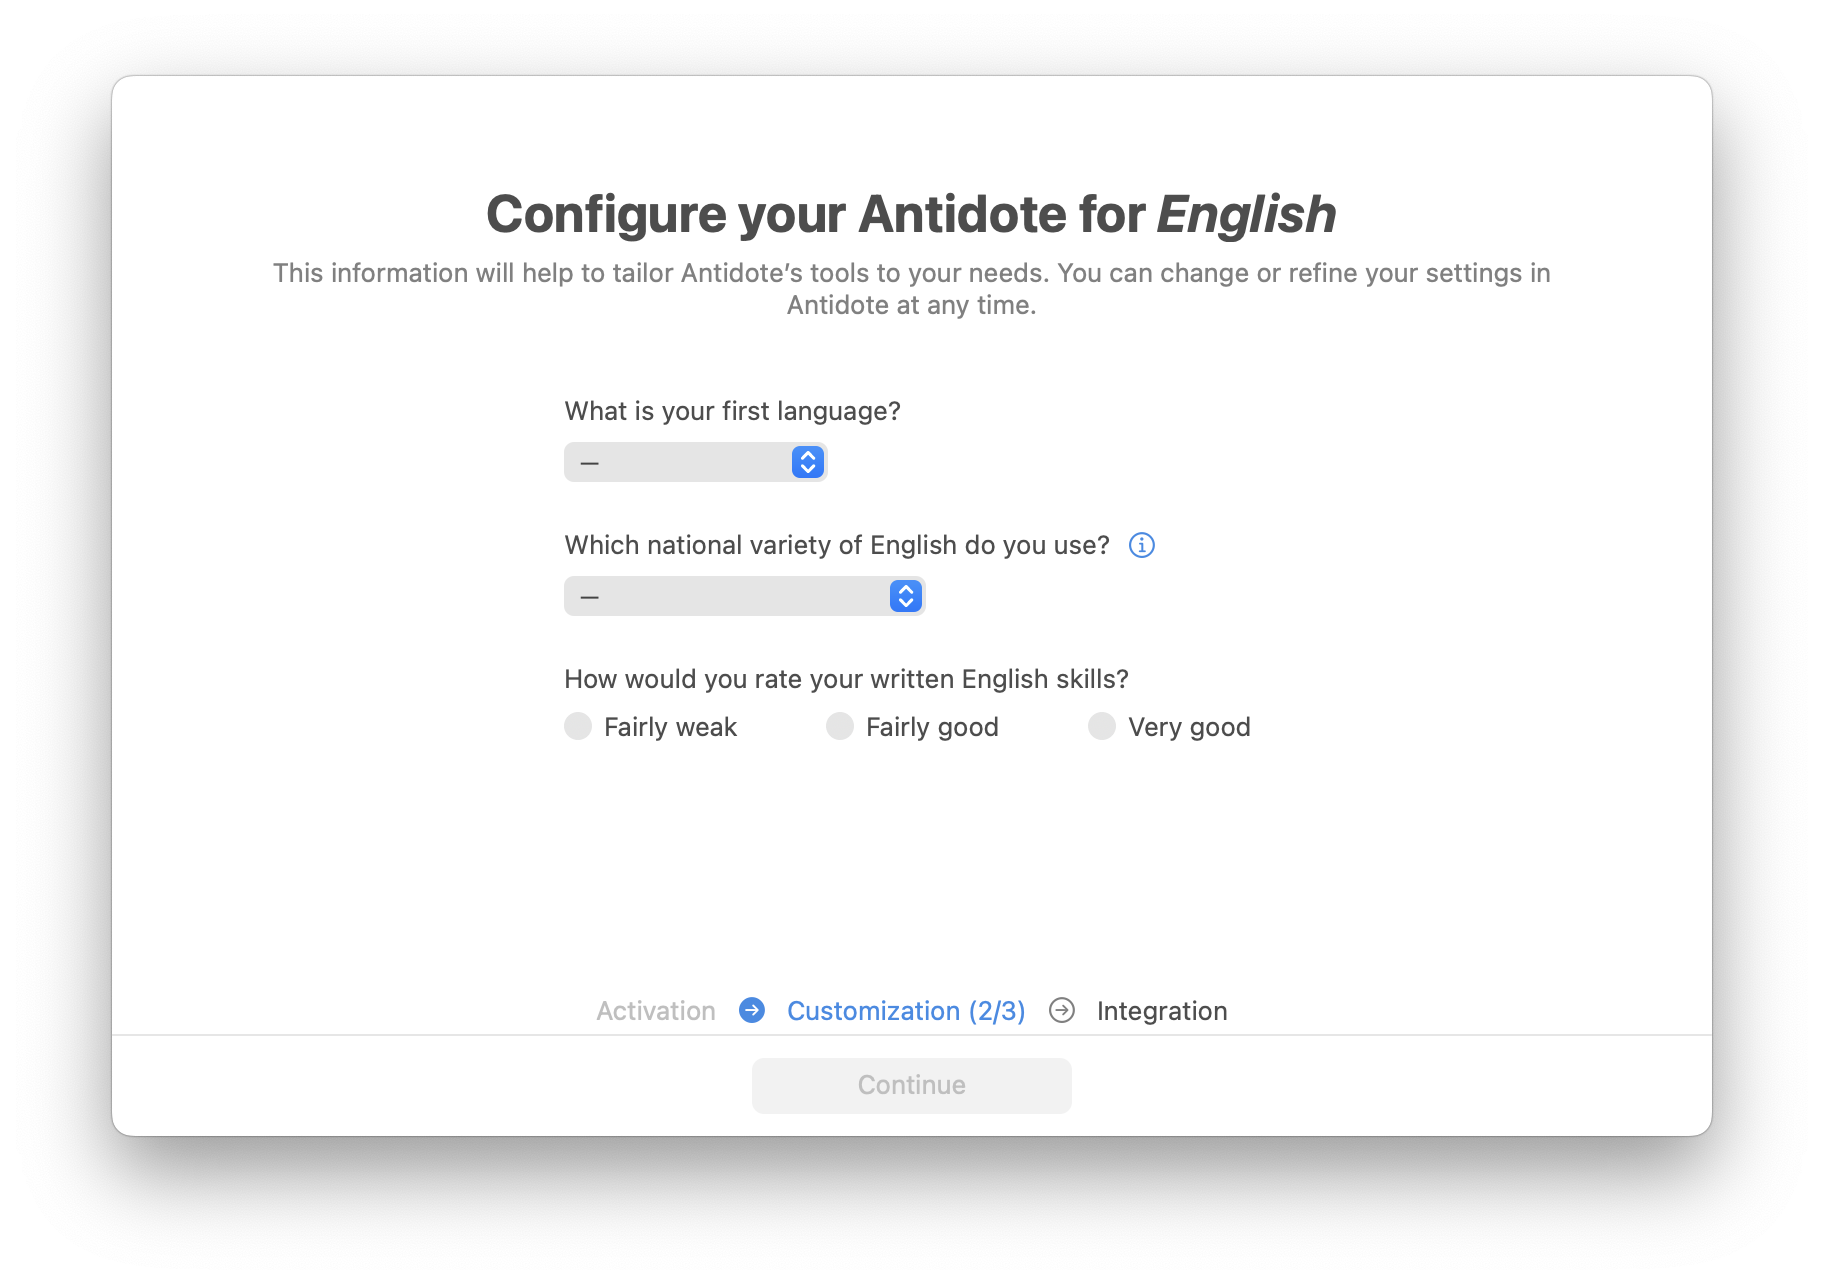
13 — After the synchronization, Antidote will ask a few language questions to configure some settings.
Note — The number of panels varies based on the languages handled by your Antidote.
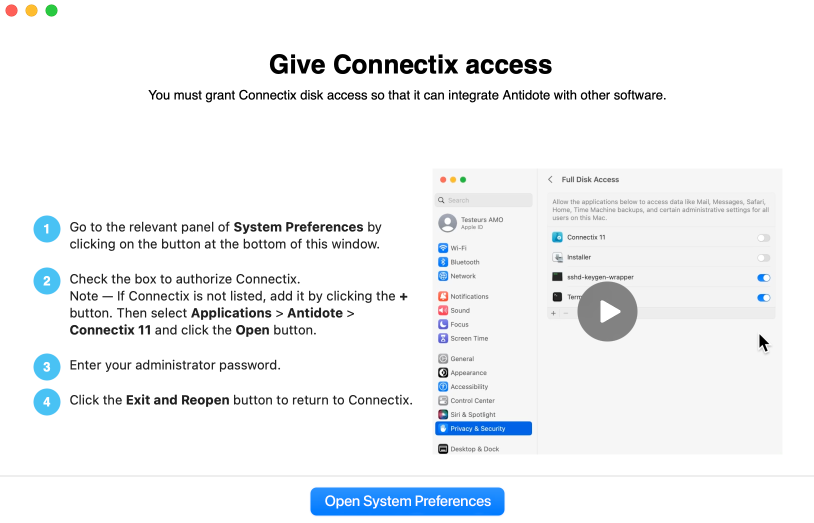
14 — Then, launch Connectix as indicated. You will need to allow Connectix to have Full Disk Access in order to add connectors. Follow the steps shown on the screen.
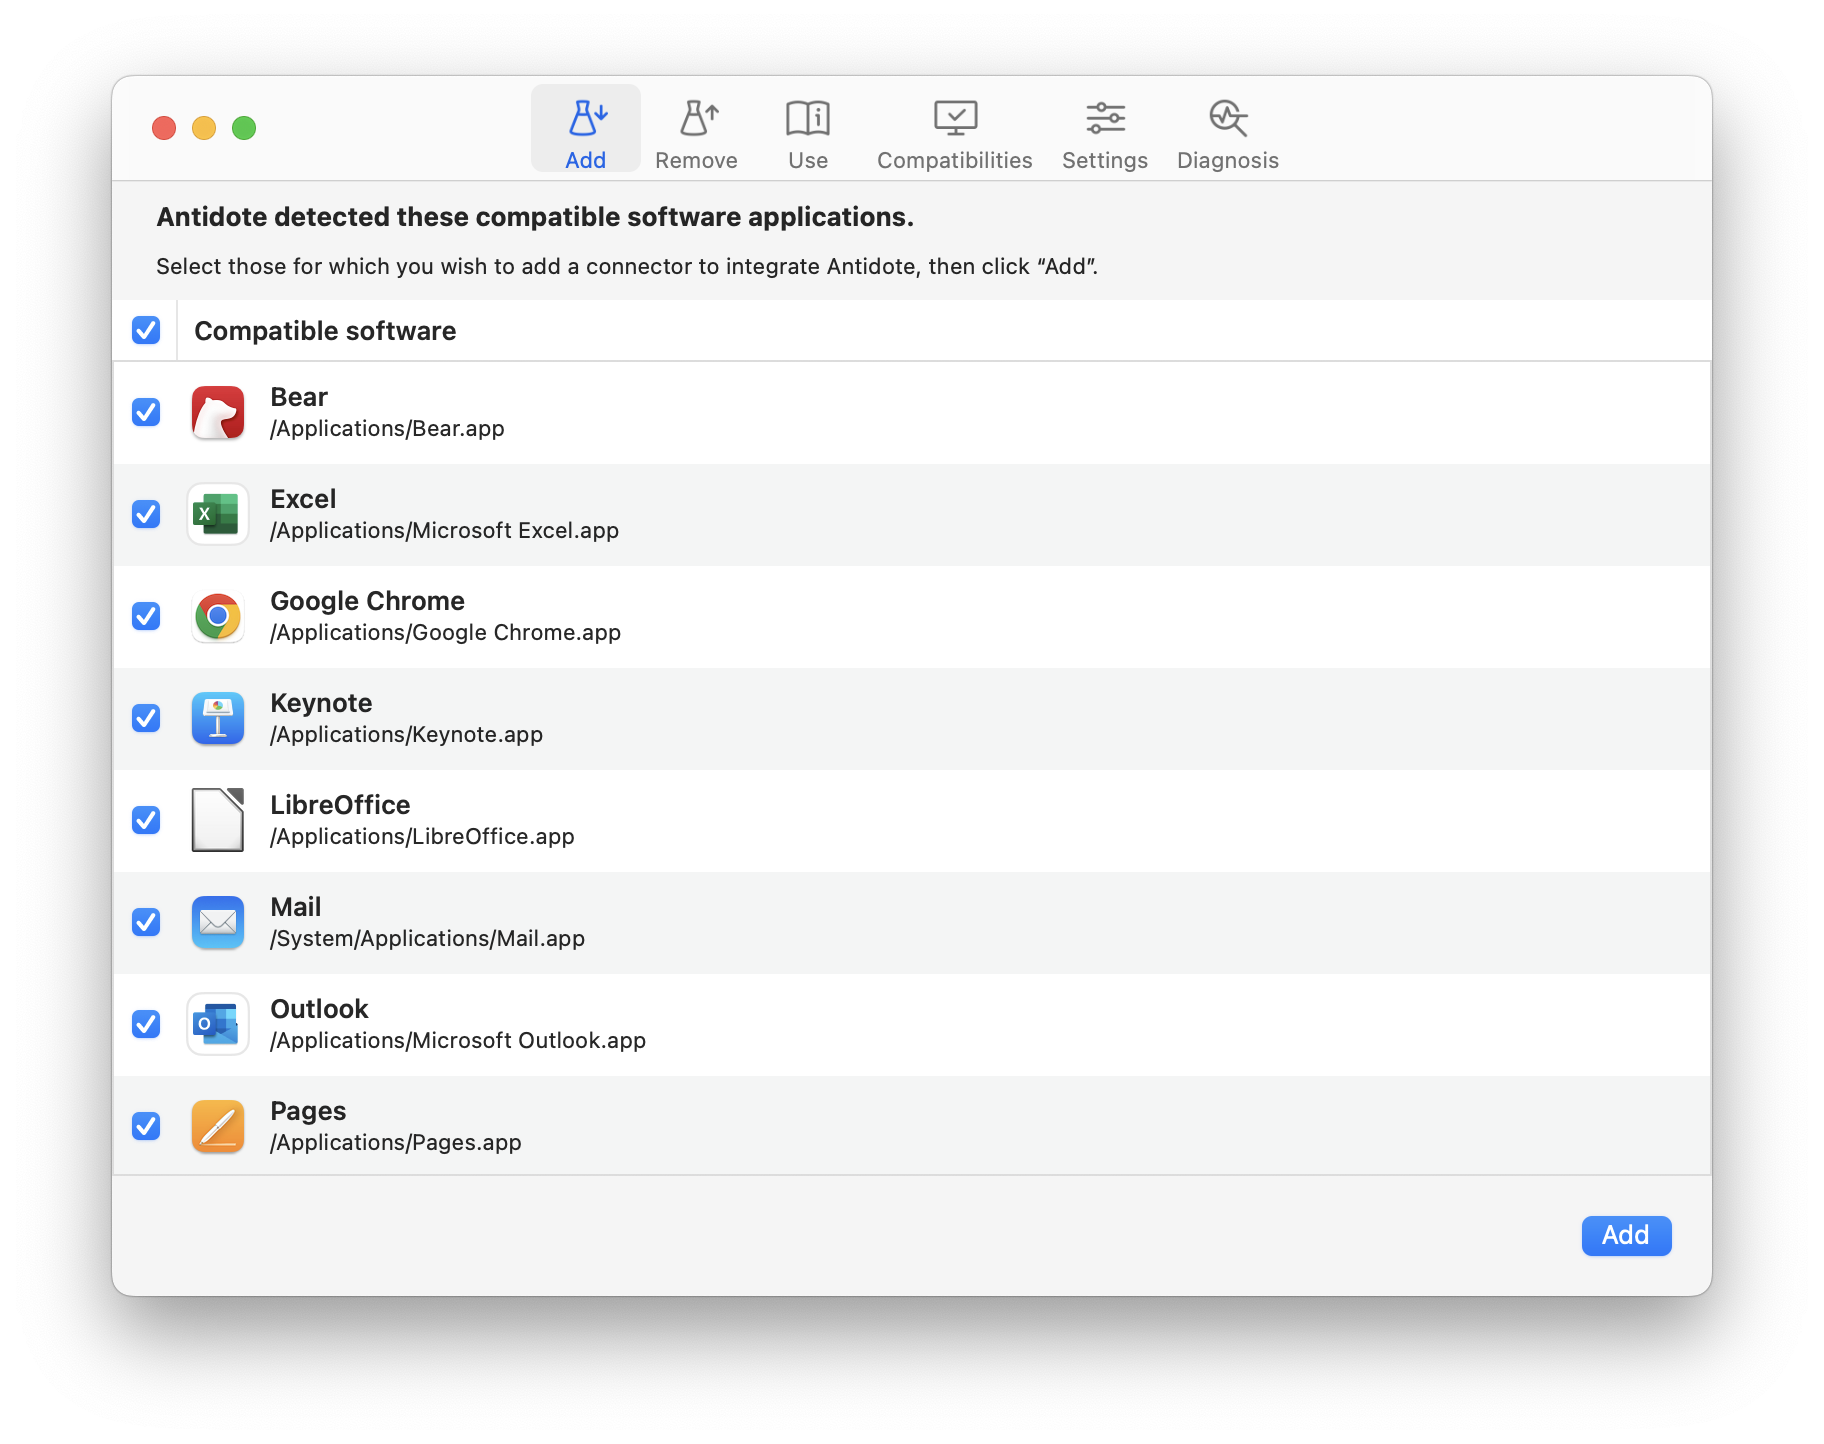
15 — Once access is granted, Connextix will open and present a list of all the connectors available for software installed on your computer. Select the software into which you want to integrate Antidote and click Add.
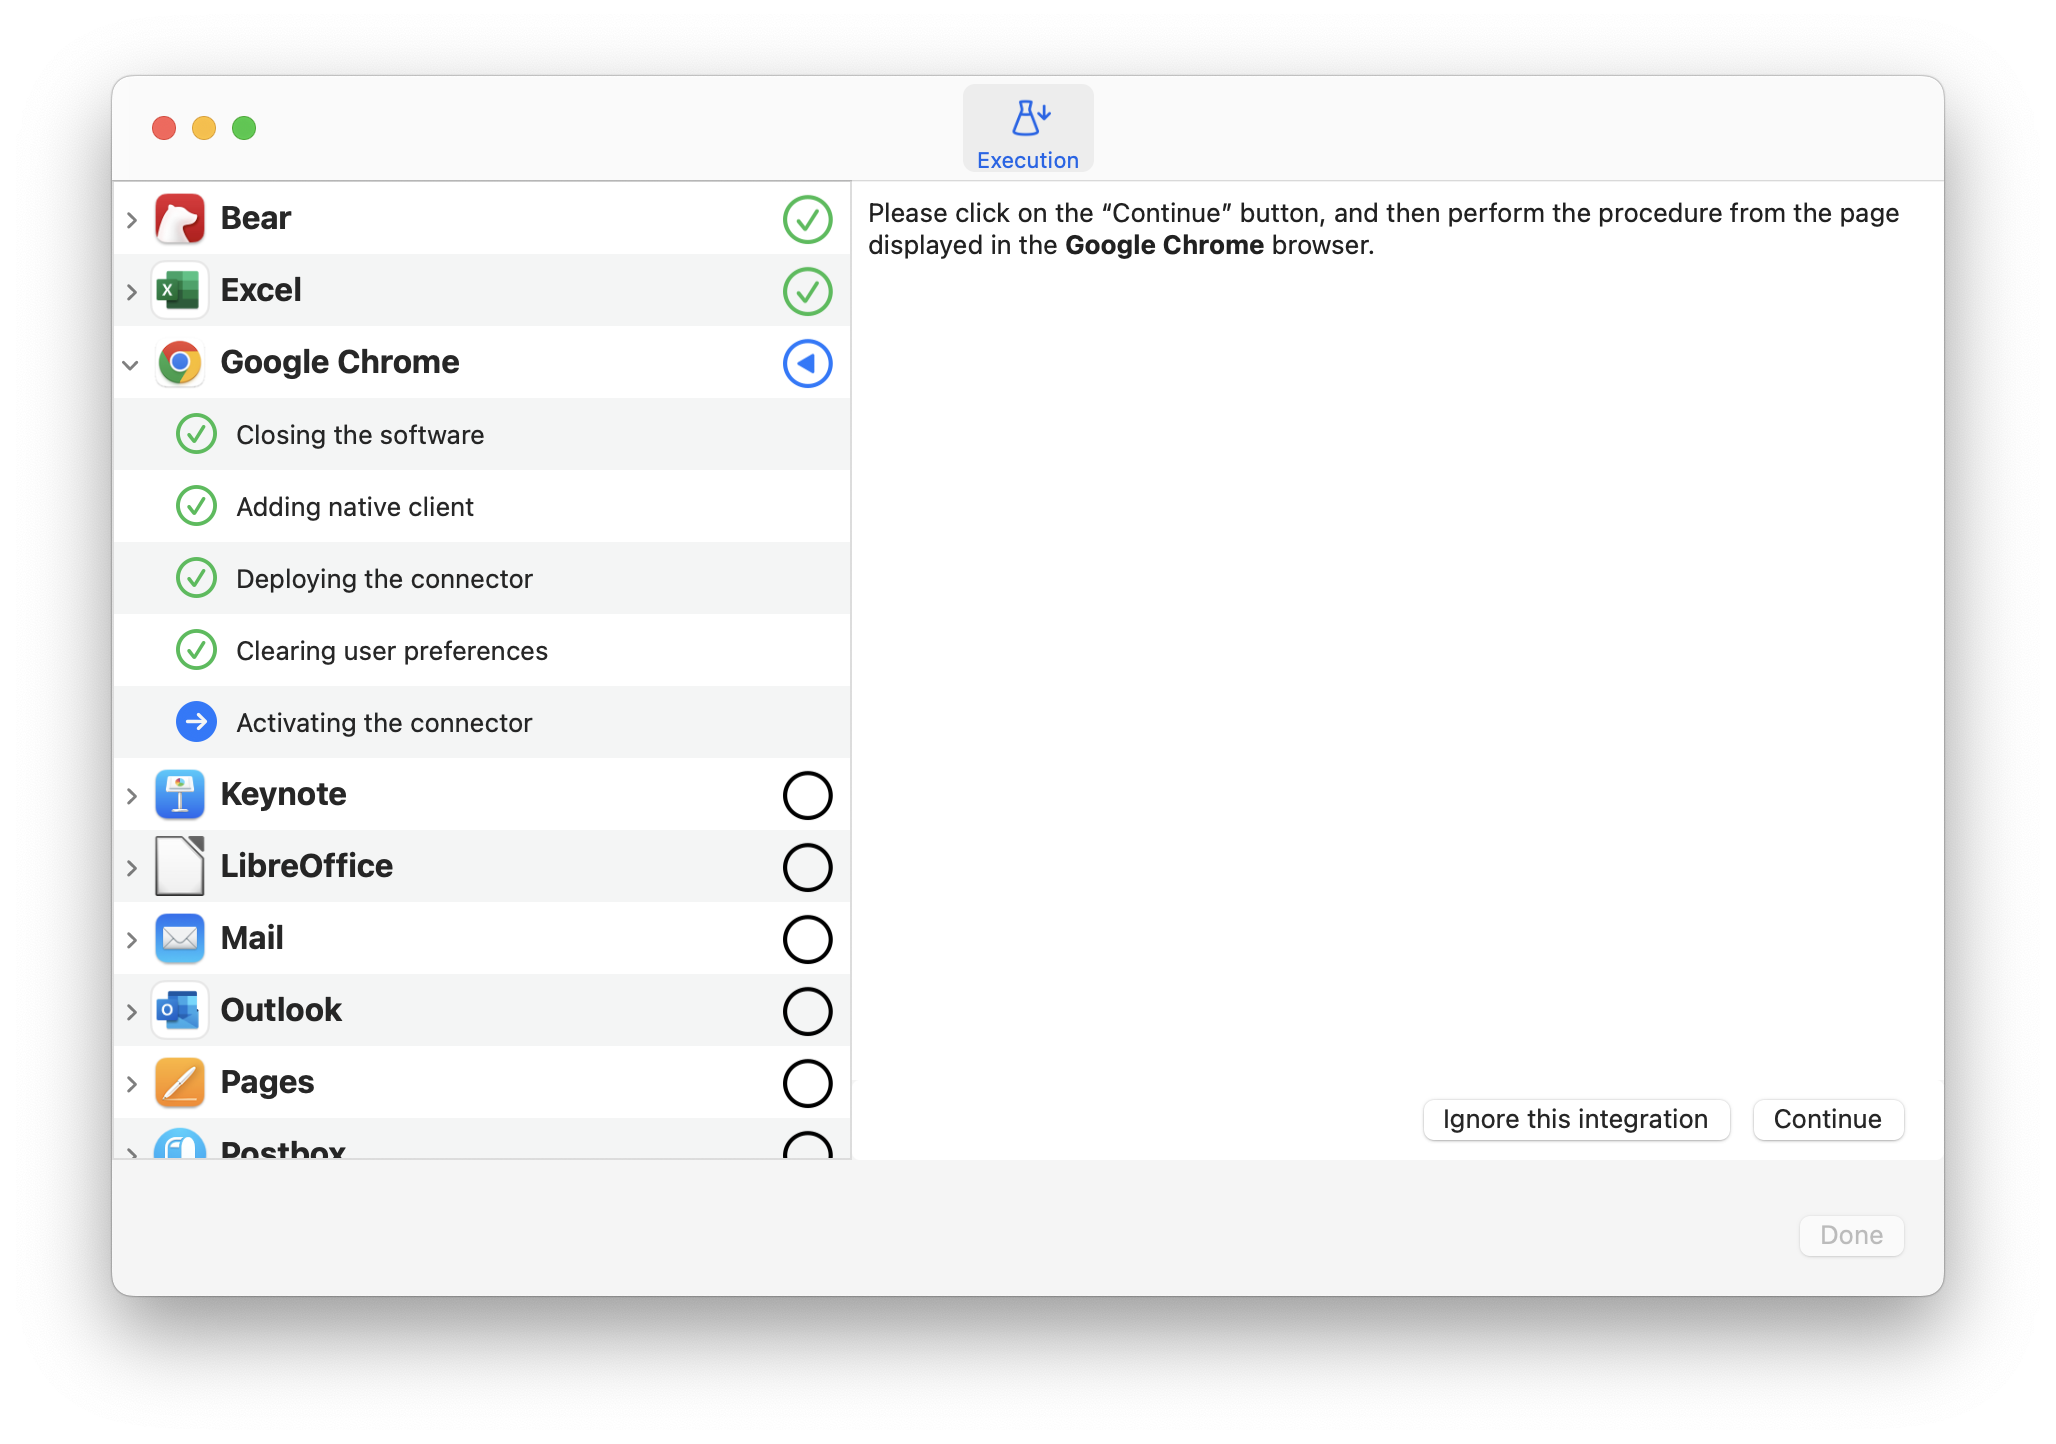
16 — Follow the instructions for each software.
- Connectix might ask you to quit an application in use in order to integrate Antidote. Quit it and click Continue.
- Some software requires manual installation. In that case, the instructions will be presented step by step. Perform the requested operations while keeping the Connectix window open to follow the procedure.
- Connectix can open software, such as browsers, to activate connectors. In that case, follow the instructions in the new window.
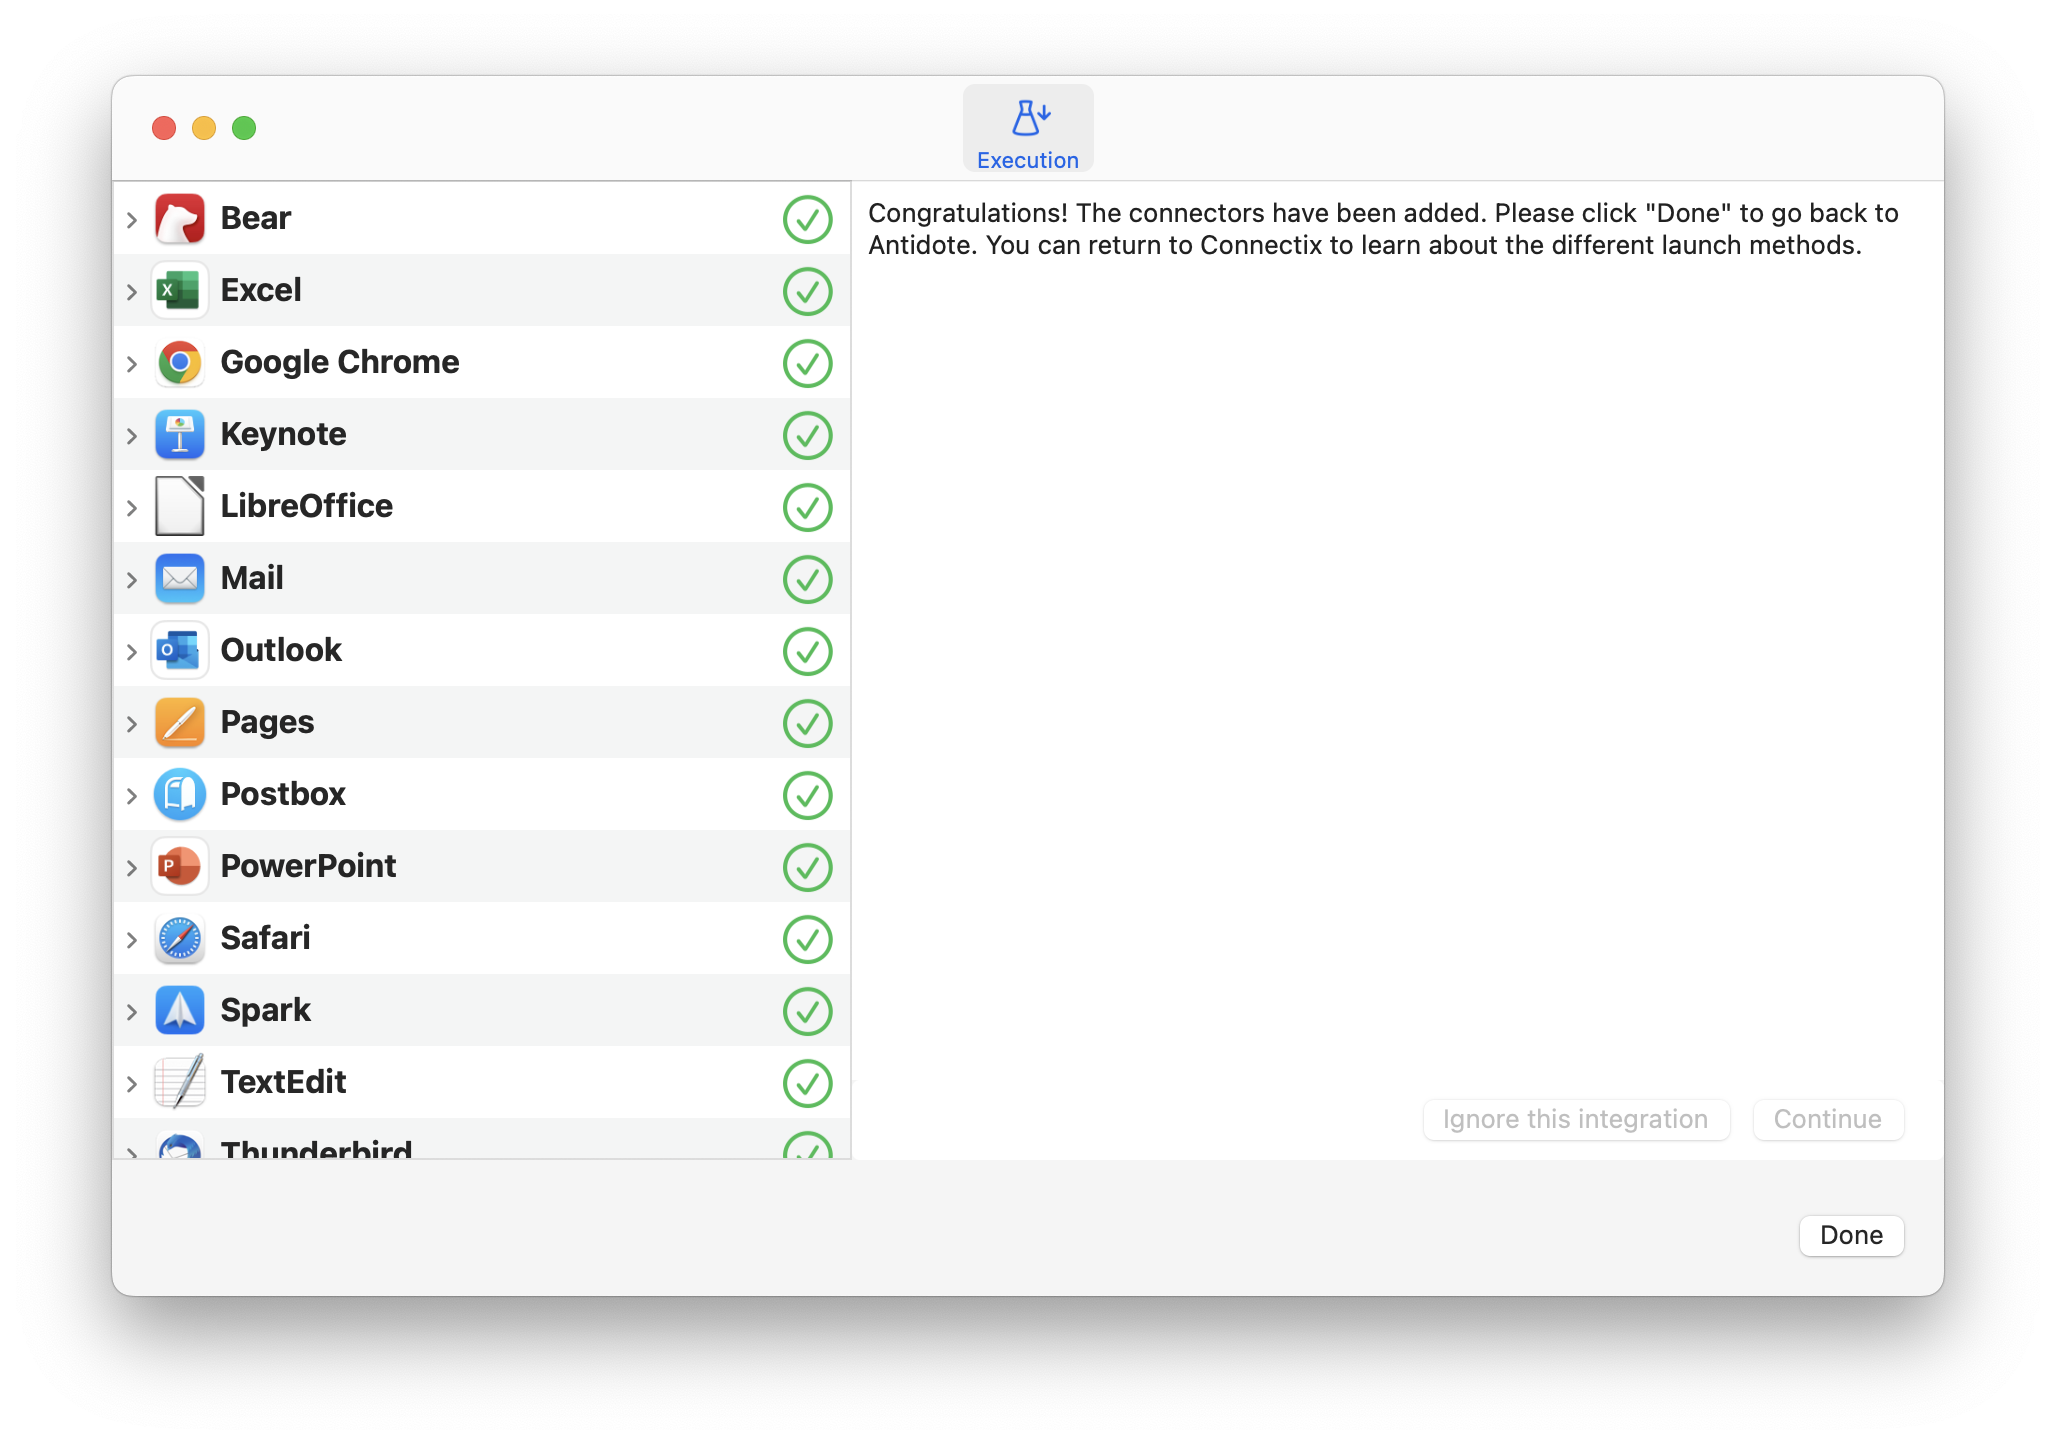
17 — Click Done and close the Connectix window to access Antidote.
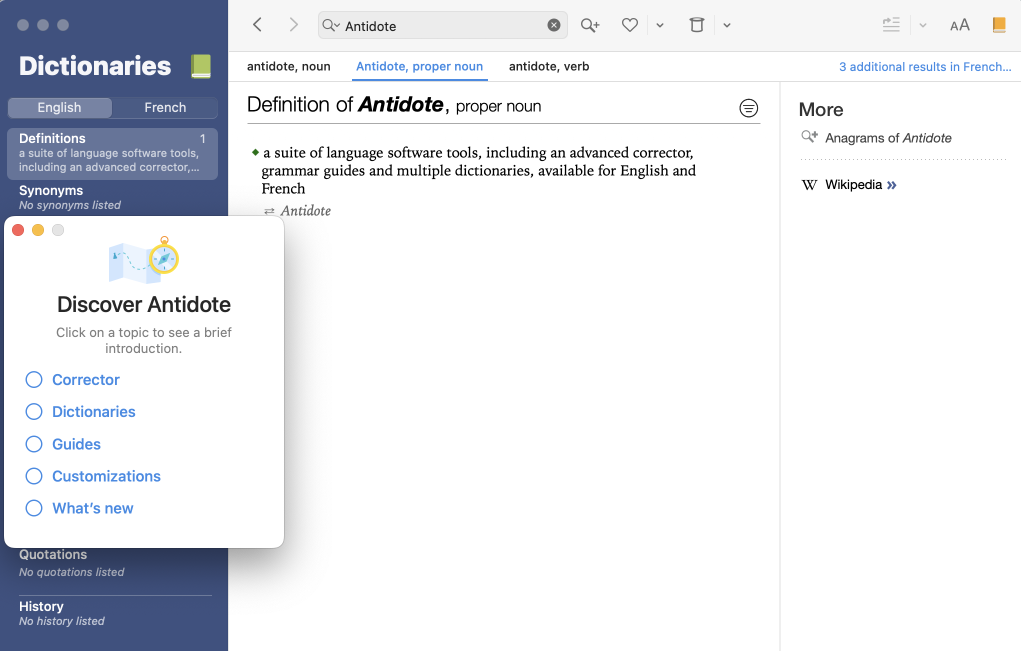
18 — Your Antidote is now ready!
Advice — Check out the subjects in the Discover Antidote window, also available on our website. You’ll find short introduction videos, among others.
Recommendations
-
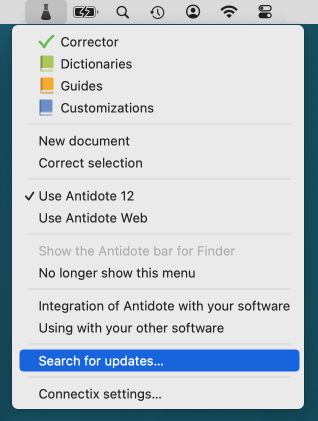
Make sure to keep your Antidote software up to date. To check whether updates are offered for your version of Antidote, open the Help menu and select Search for updates. This function is also available in the Antidote Agent menu (the small flask in the menu bar).
-
To know more about the ways to run Antidote and its use with different software, select Using with your other software section in the Antidote Agent menu.
-
To know all about Antidote 12 functions, consult the user guide, also available under the Help menu.
