No results
Using Antidote with the New Outlook
Antidote 12
Antidote 11
Important — In order to use Antidote 12 or 11 in the new Outlook, you must first complete its integration by following one of these two procedures:
Choose the tab that corresponds to your operating system: Windows or Mac.
Windows
Mac
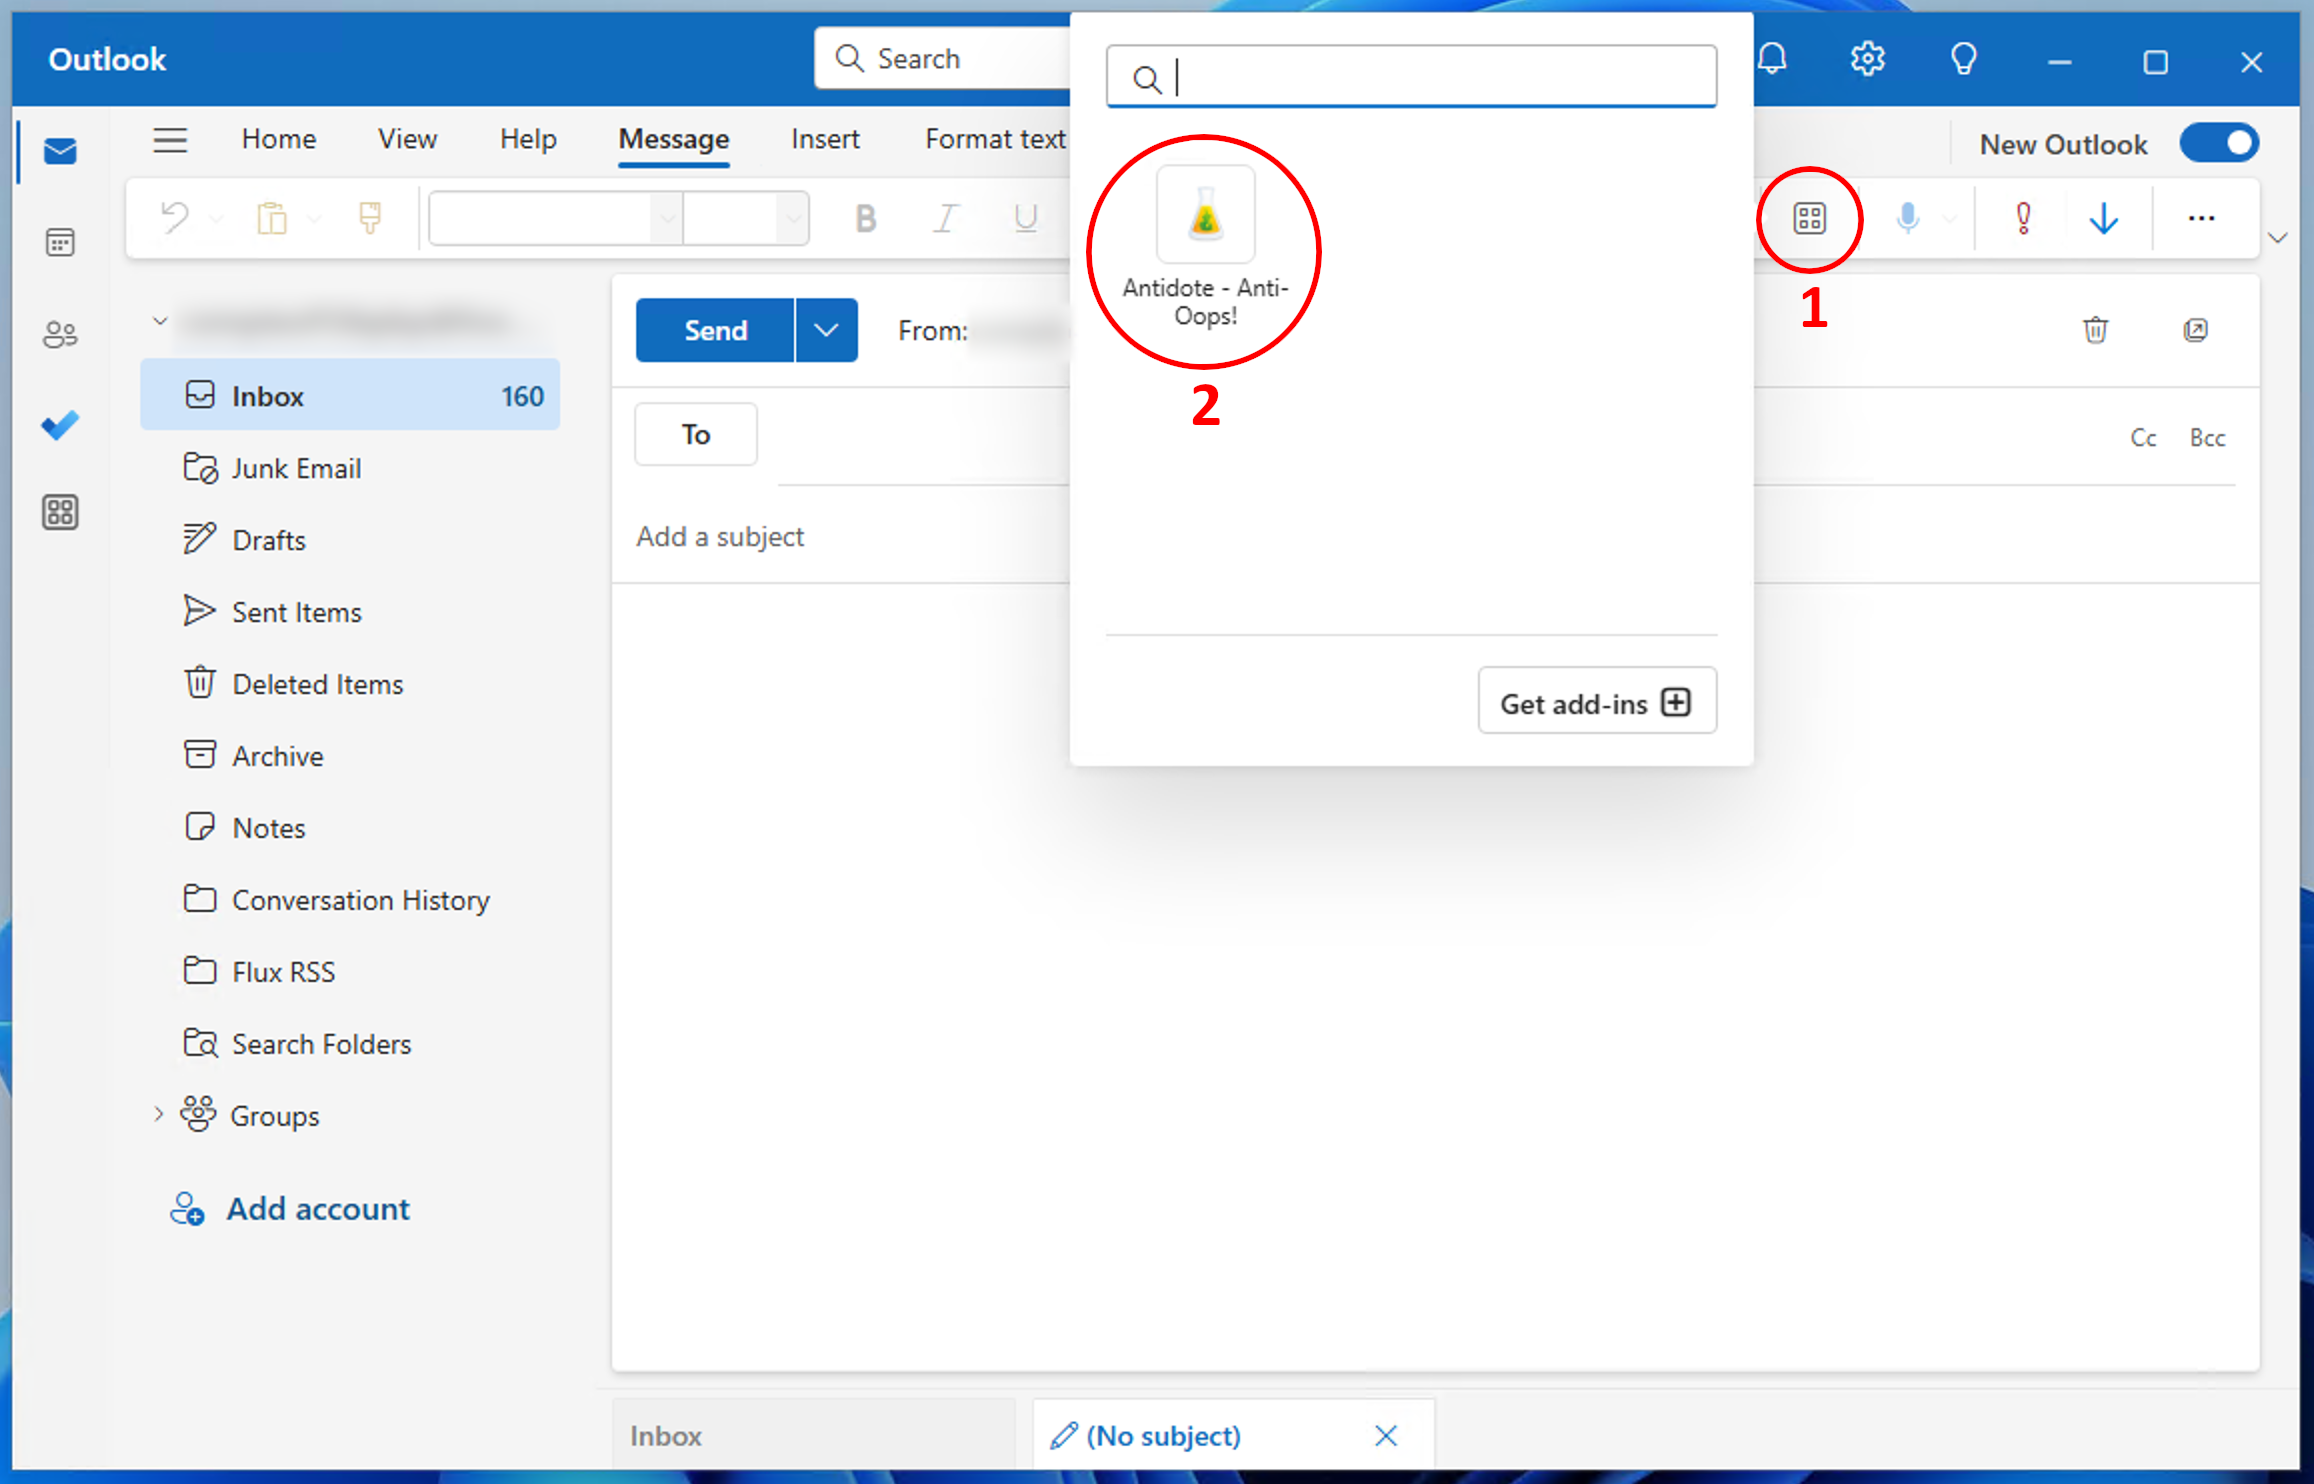
- To show the Antidote ribbon, create a new message or reply to an existing one, then click on the Apps button (1), followed by the Antidote - Anti-Oops! add-in (2).
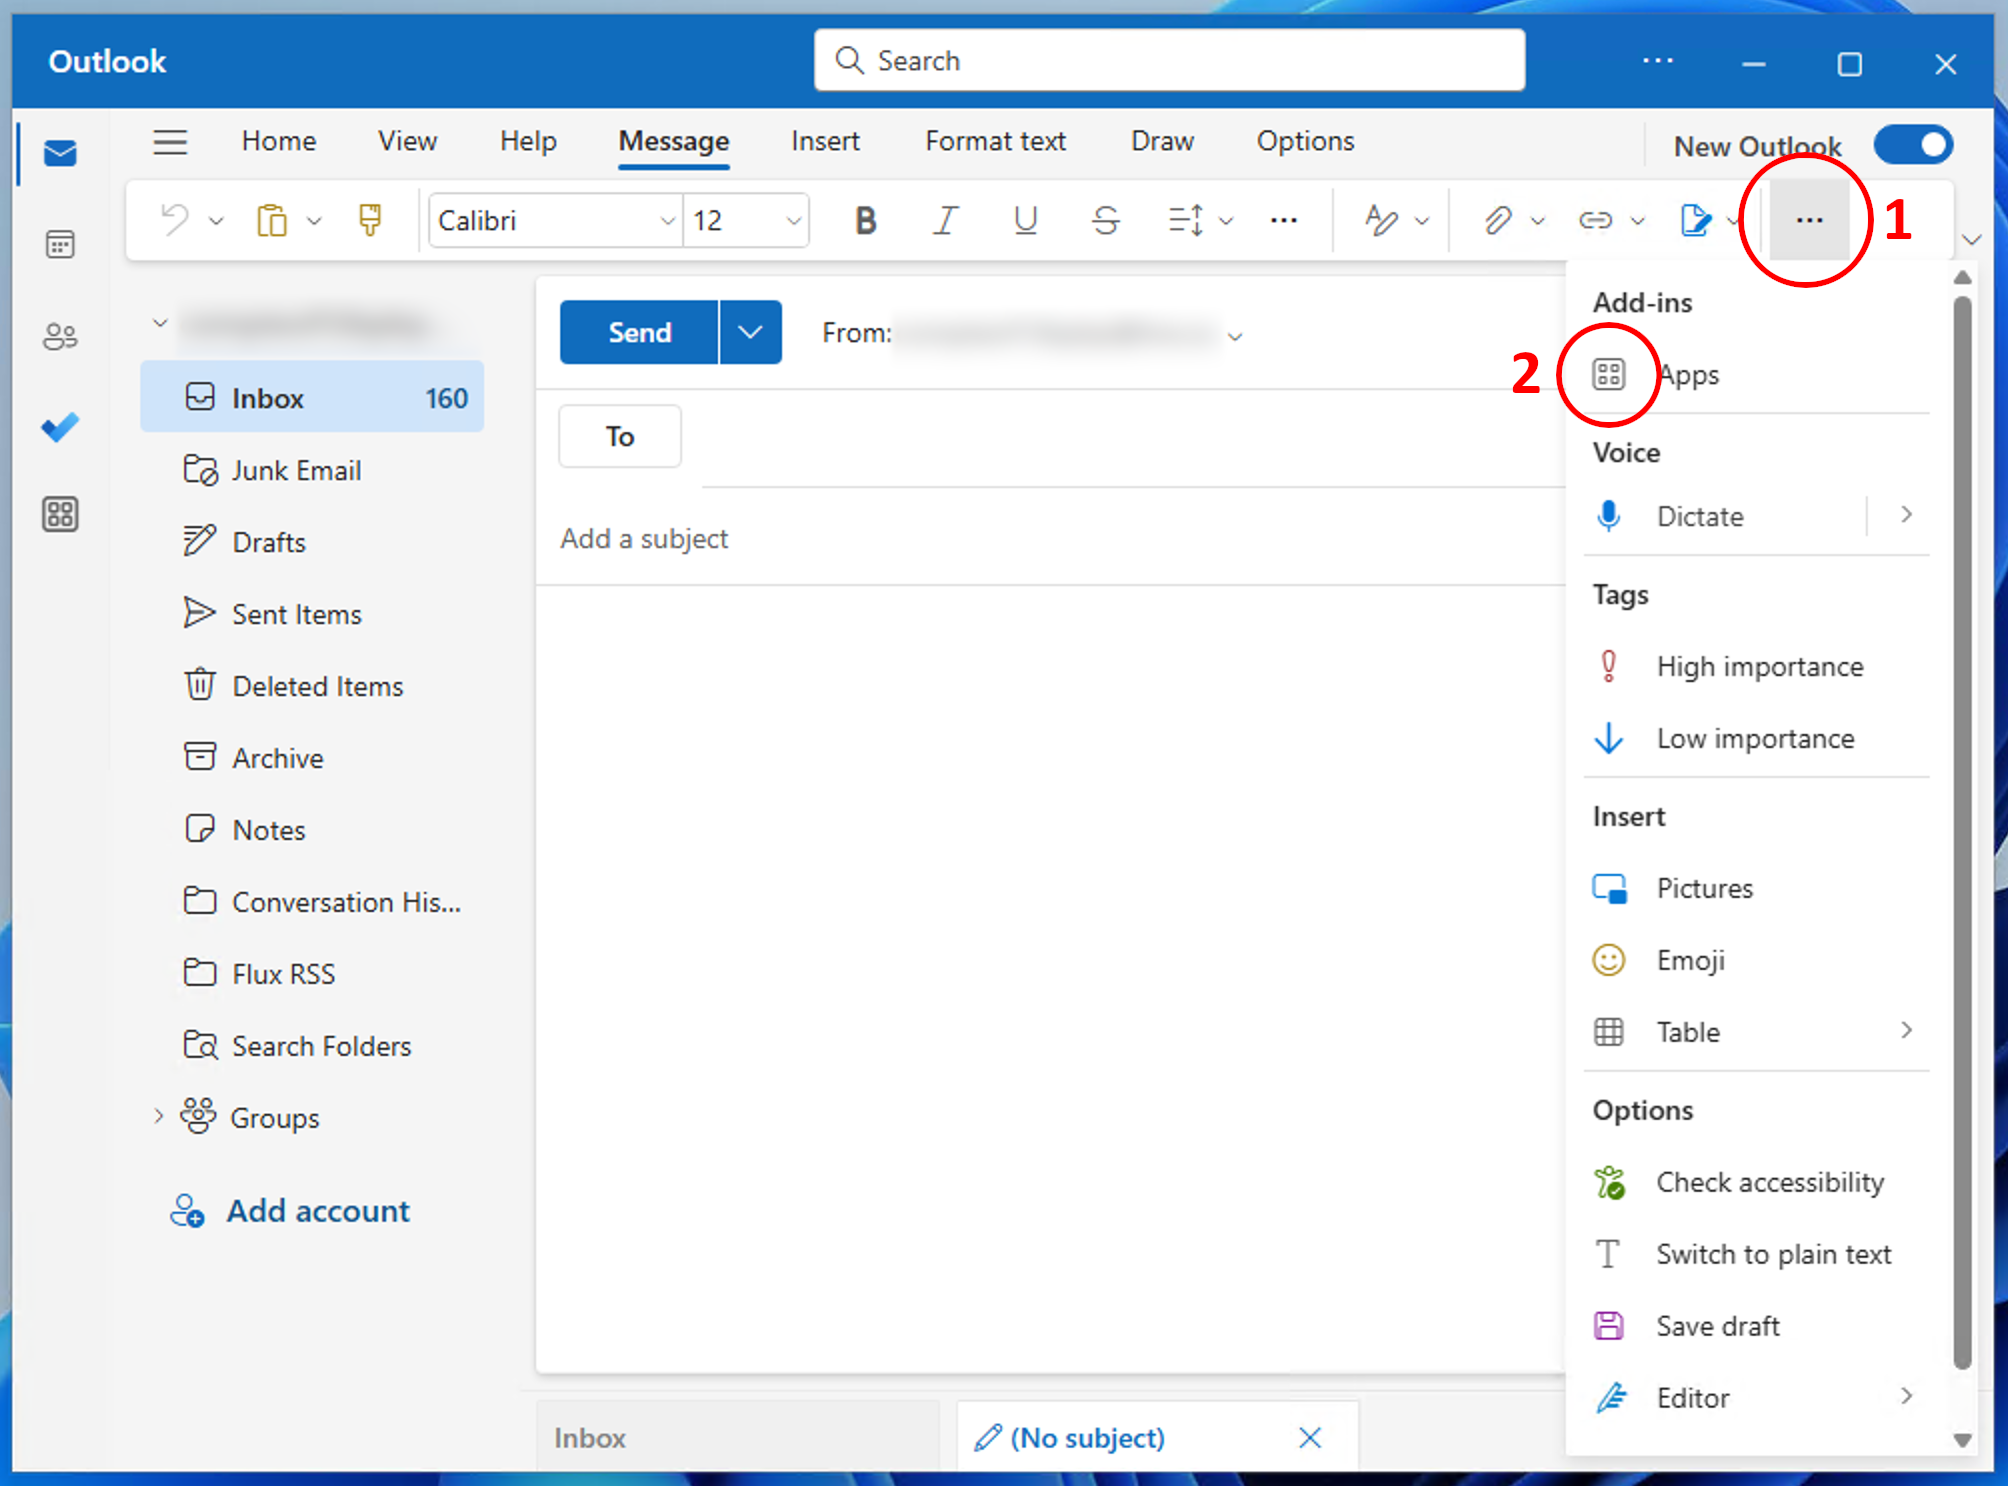
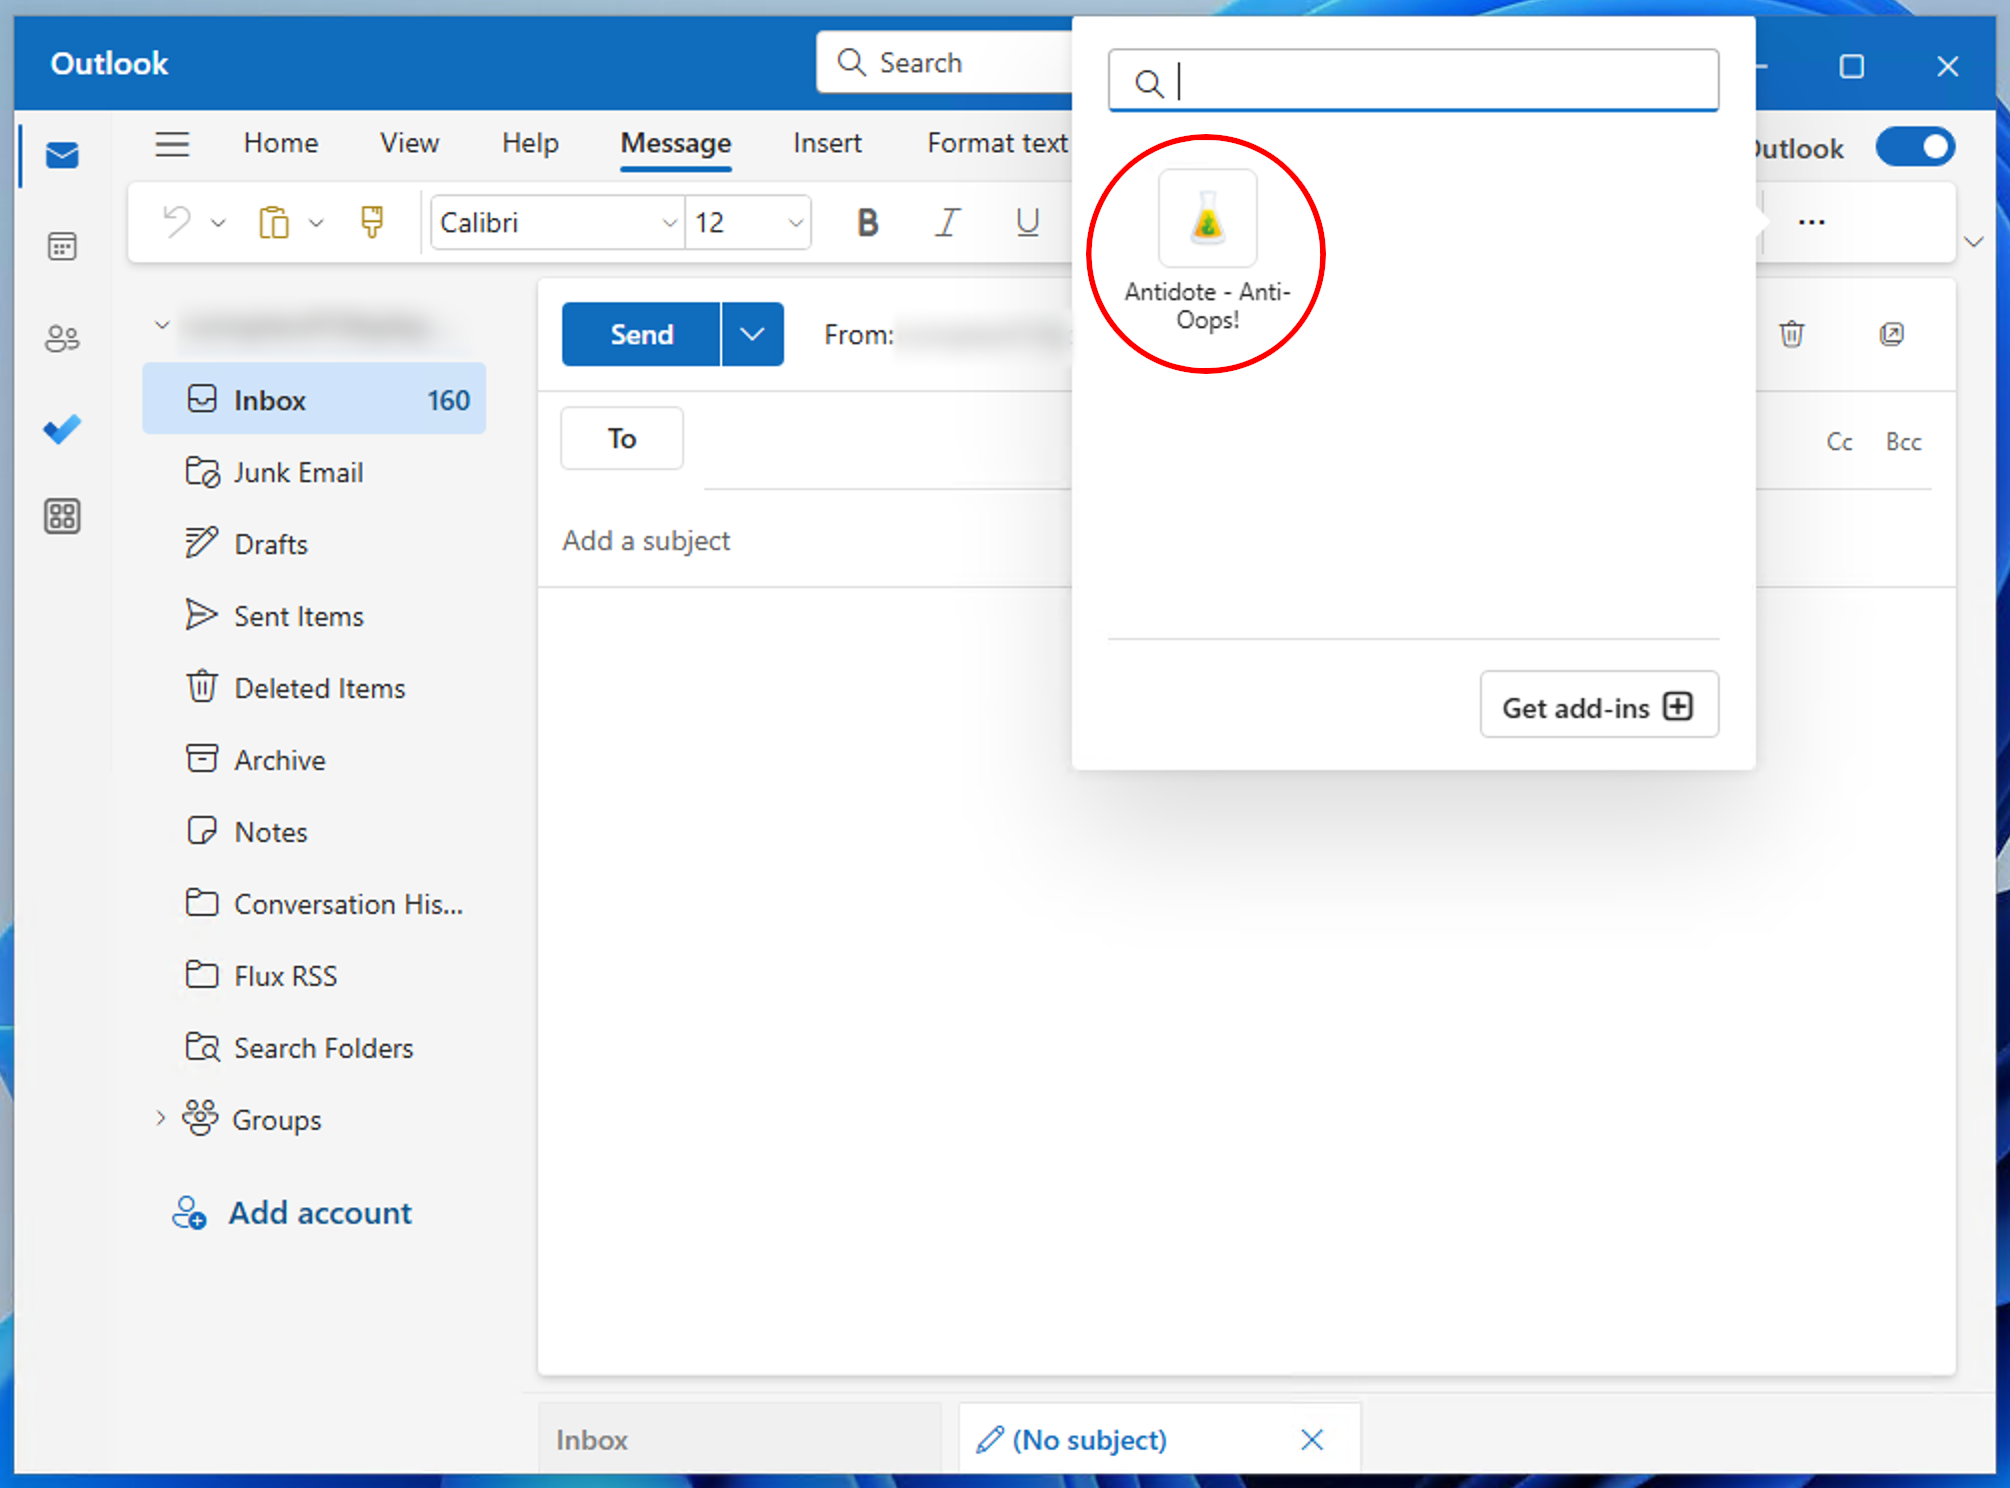
- If the Antidote button is not visible, click on the three dots in the window’s upper-right corner (1), select Apps (2), and click on the Antidote — Anti-Oops! add-in.
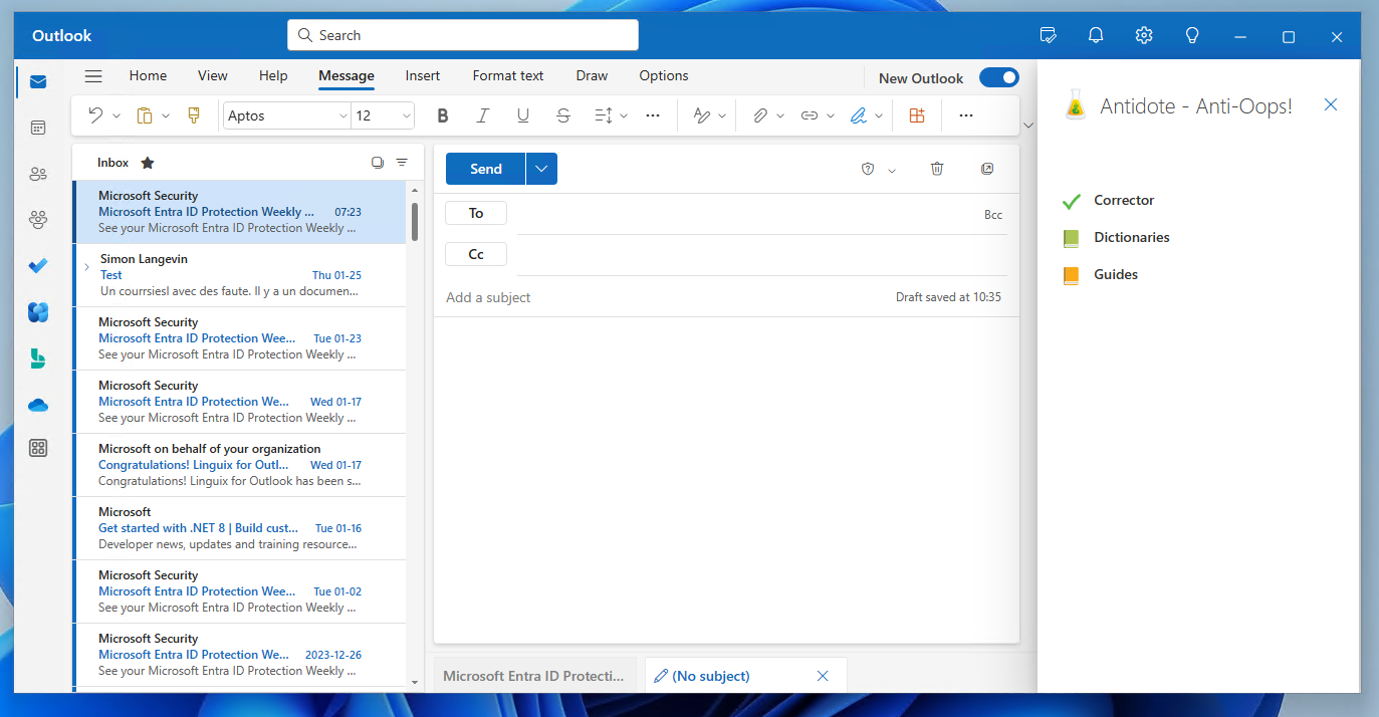
- All Antidote corrector calls must be done using this panel. It is important to leave this panel open during the correction session to maintain the communication between Antidote and Outlook.
- When opening an email, a new button allows you to open the Antidote panel.
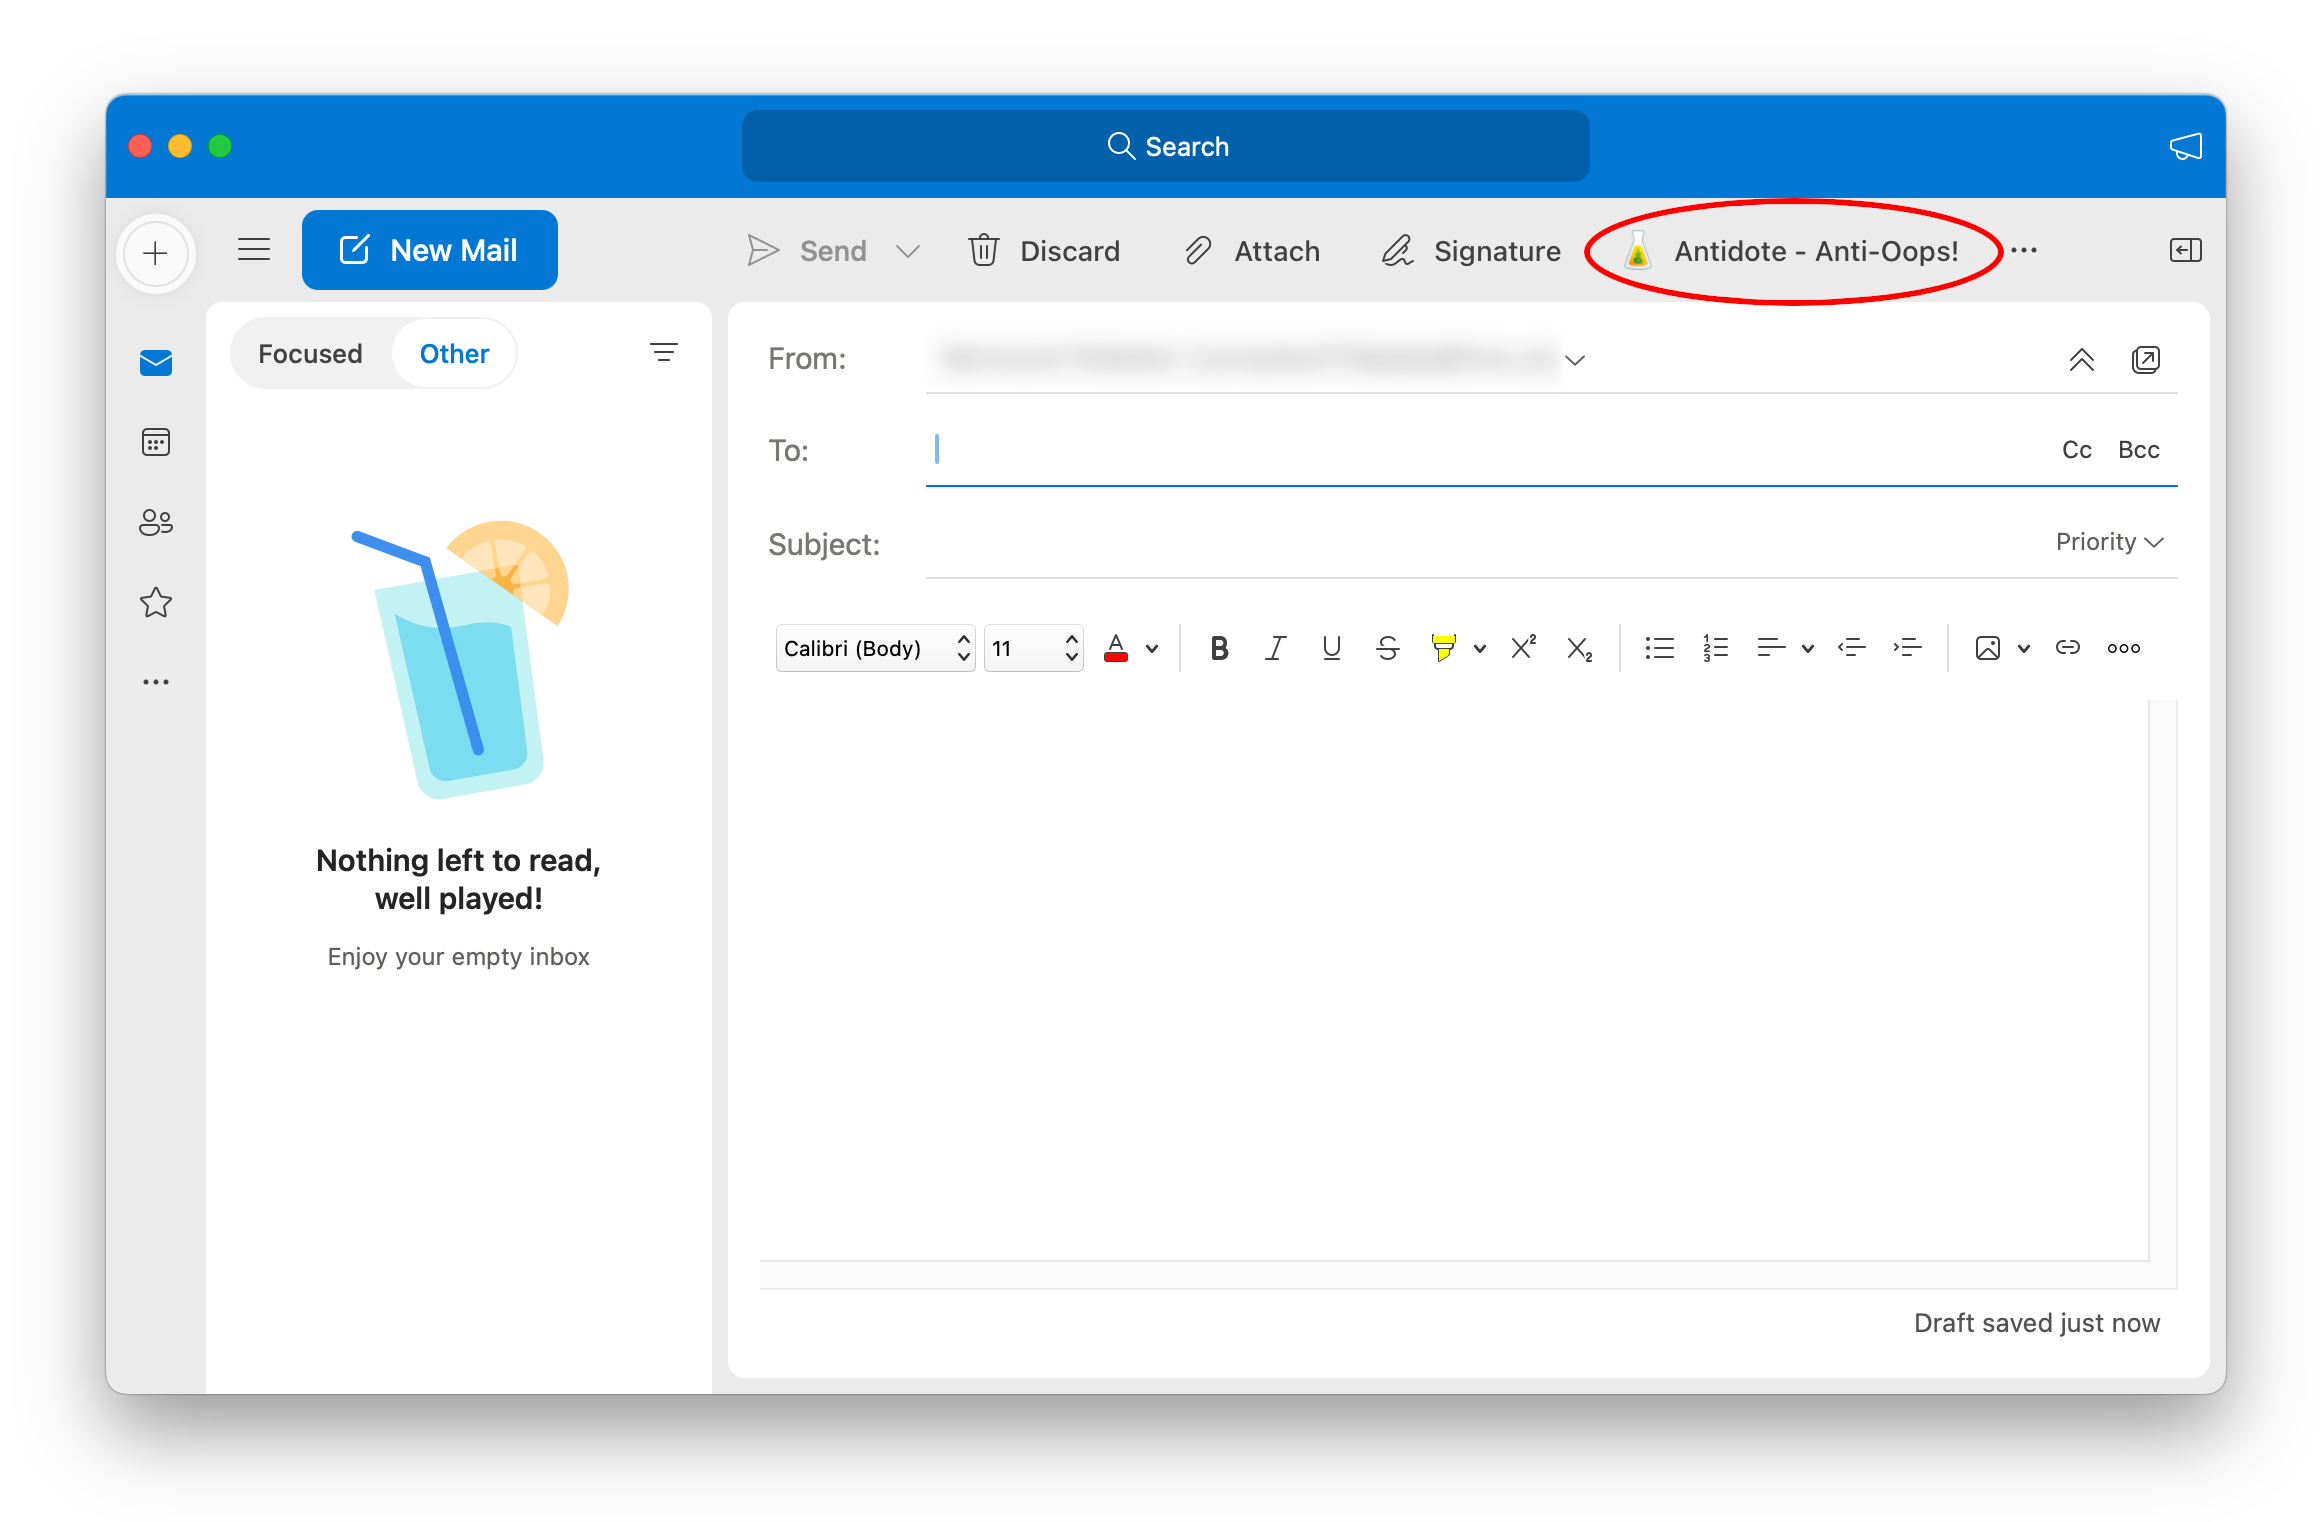
- If the Antidote button is not visible, click on the three dots located on the window’s upper right corner, and select Antidote - Anti-Oops! from the drop-down menu.
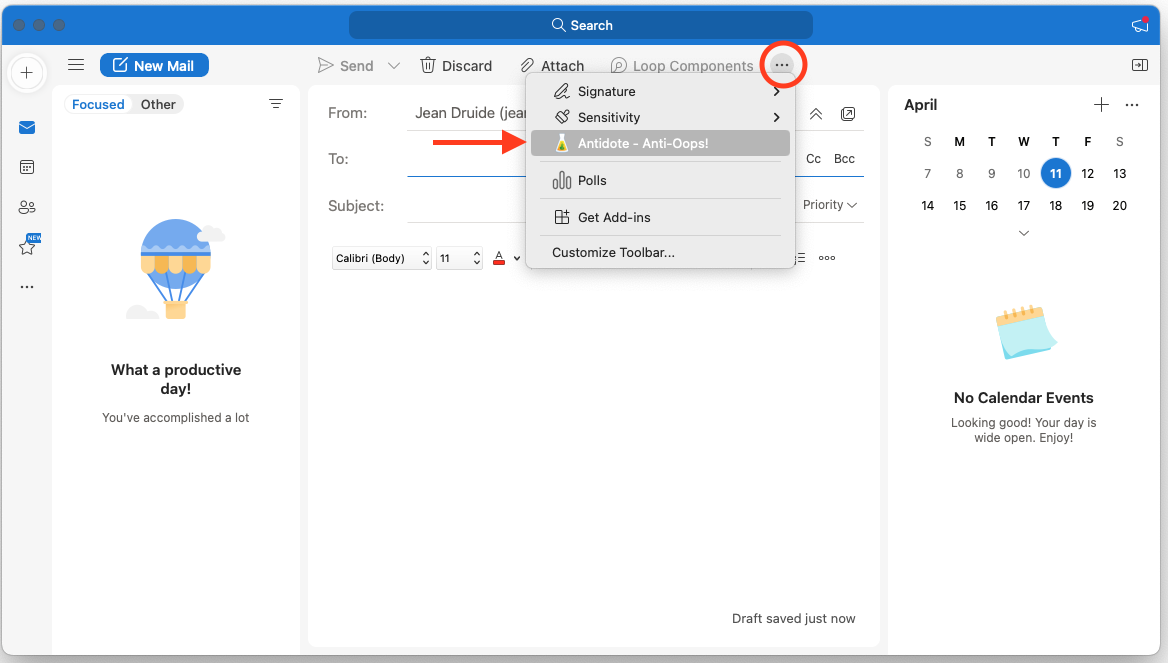
- All Antidote corrector calls must be done using this panel. It is important to leave this panel open during the correction session to maintain the communication between Antidote and Outlook.